Expert Home Services LLC
377 Valley Rd, Clifton, NJ
Available 24/7 to take your orders!
Follow us:
Page Title BG
Category: Home Safety and Protection

Locating Your Shut-Off Valve: A Handy Guide for Homeowners

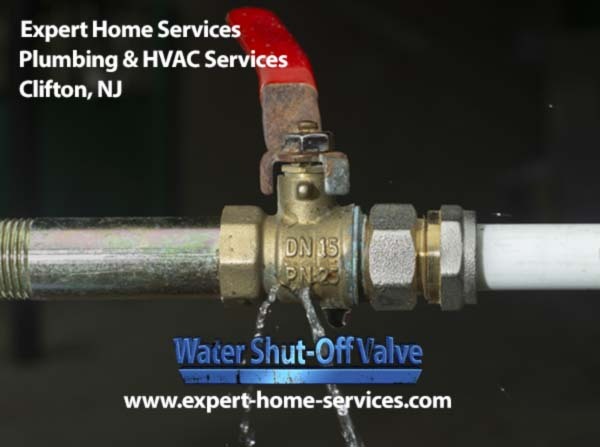
Locating Your Shut-Off Valve: A Handy Guide for Homeowners As a homeowner, it’s essential to Locating Your Shut-Off Valve. In case of a plumbing emergency, quick access to the shut-off valve can prevent significant damage to your property and provide you with peace of mind. However, many homeowners are unaware of where their  Home shut-off valve is located. In this handy guide, we will explain why finding your shut-off valve is essential and provide practical tips for how to locate it.   Key Takeaways: Knowing the location of your shut-off valve can prevent significant damage to your property. Common types of shut-off valves include gate valves, ball valves, and compression valves. The shut-off valve can be located near the water meter, inside your house, or outside near the main water line. It’s important to be familiar with different types of shut-off valves to operate them correctly. By locating your shut-off valve, you can have peace of mind and be prepared for any plumbing emergencies. Why Finding Your Shut-Off Valve Is Essential Knowing where your Shut-off valve is located in your home is crucial for preventing extensive water damage during a plumbing emergency. Whether it’s a burst pipe or a leaky faucet, shutting off the water supply quickly can save you thousands of dollars in repairs. By identifying the location of your home shut-off valve, you can be prepared for any unforeseen emergencies. Shut-off valve location: Plumbing emergencies can happen at any time, without warning, and can lead to devastating consequences if not dealt with straight away. By finding your Shut-off valve for plumbing emergencies, you can turn off the water supply in seconds, reducing the amount of water that may have leaked and minimizing the damage. Common plumbing emergencies such as burst pipes and overflowing toilets can be resolved by simply shutting off the water supply. It’s not only essential to locate your shut-off valve but also to maintain your shut-off valve. At least once a year, homeowners should test their shut-off valve to ensure that it is functioning correctly. A malfunctioning valve can lead to further water damage by failing to turn off the water supply when needed. Shut-off Valve Safety Tips It’s essential to follow these home water shut-off valve safety tips procedures when handling the shut-off valve during an emergency. Know the location of your shut-off valve: Familiarize yourself with the location of your shut-off valve before an emergency occurs. Turn off the electricity: If there is standing water in your home, turn off the electricity to prevent electrocution. Wear gloves: Handle the valve with gloves as it may be slippery during a plumbing emergency. By understanding the importance of locating and maintaining your shut-off valve and following the proper safety tips, you can be prepared to handle any plumbing emergencies that come your way. How to Find Your Shut-Off Valve Locating your shut-off valve is a crucial step in preventing water damage during an emergency plumbing situation. Here are some practical steps to help you find your shut-off valve: Check near the water meter: Start by checking the area near your water meter. Many shut-off valves are located close to the meter. Look for a rectangular plate on the wall marked “Water.” The valve should be on the same side as the meter, facing the street. Inspect the crawl space or basement: If you can’t find the shut-off valve near your water meter, check your crawl space or basement. Look for the main water supply line and follow it until you find the valve. It may be near the water heater or even under a sink. Search outside: If your shut-off valve is not inside your house, it could be located outside. Check near the pipeline that connects to your home’s main water supply. Look for a box or a covered hole. The valve may also be near your front yard or sidewalk. It’s important to note that the location of your shut-off valve may vary depending on your home’s plumbing system. If you’re having trouble finding it, refer to your home’s blueprint or contact a professional plumber for assistance. Additional Tips: Make sure you can easily access your shut-off valve in an emergency by clearing any debris or items blocking the way. If you have difficulty turning the valve, use a wrench or pliers to help you. Consider labeling the shut-off valve for future reference, especially if you have multiple valves in your home. Identifying Different Types of Shut-Off Valves There are three common types of shut-off valves found in homes: gate valves, ball valves, and compression valves. Identifying which type you have will help you operate your shut-off valve correctly in an emergency. Gate Valves Gate valves are the oldest and most traditional type of shut-off valve. They have a round handle that turns perpendicular to the pipe to open or close the valve. Gate valves are durable and designed to last a long time, but they can become stuck over time, making them difficult to turn. They are typically found near the main water line where it enters the house. Ball Valves Ball valves are newer and more efficient than gate valves. They have a lever handle that turns 90 degrees to control the water supply. Ball valves are easy to operate and provide a tight seal, making them ideal for emergencies. They are typically found near fixtures, such as toilets and sinks. Compression Valves Compression valves are the most common type of shut-off valve in homes today. They have a handle that is turned clockwise to shut off the water and counter-clockwise to open it. Compression valves are easy to identify by the presence of a hexagonal nut directly below the handle. They are typically found underneath sinks and toilets. Understanding the different types of shut-off valves will help you quickly locate and operate your shut-off valve in an emergency. Make sure you know which type you have in your home, and always test it periodically to ensure it is functioning

Read More

Winter Plumbing Wisdom: How to Safely Drain Pipes

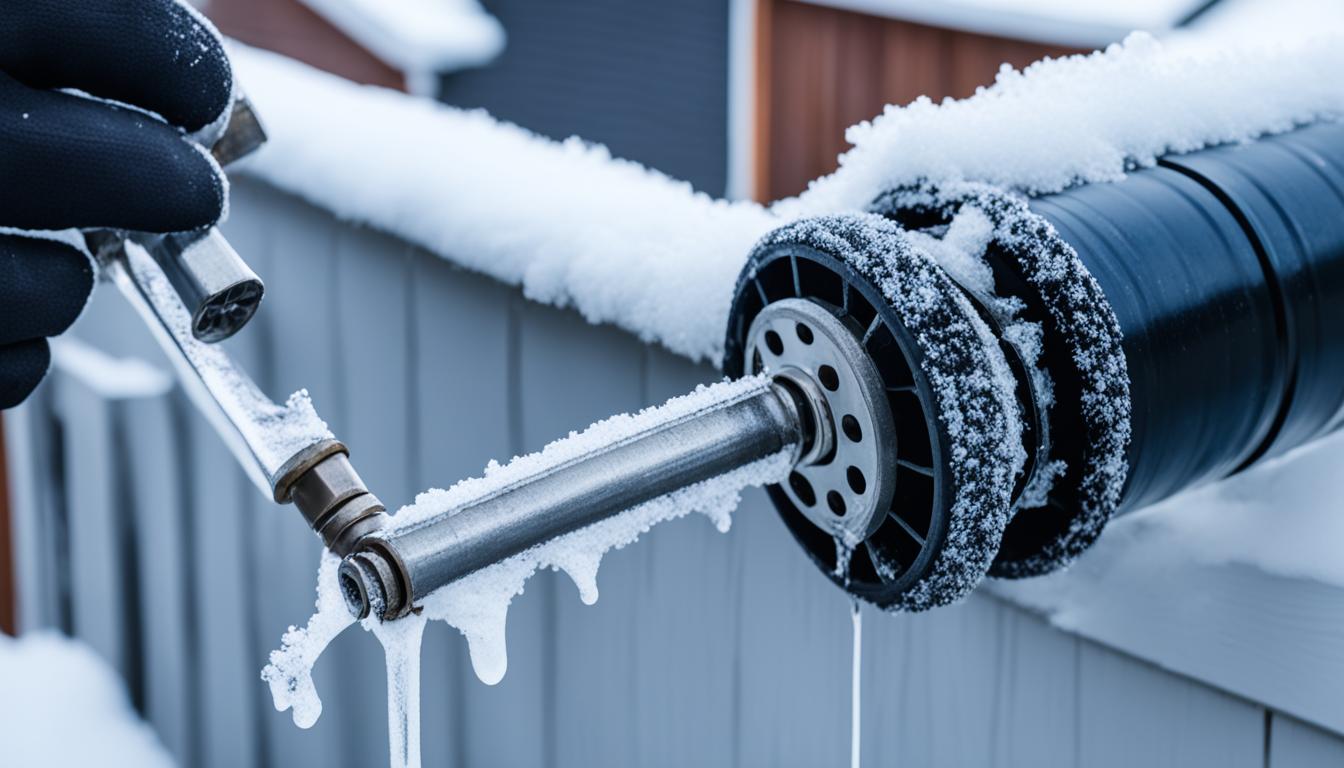
Winter Plumbing Wisdom: How to Safely Drain Pipes Winter can be tough on your home’s plumbing system, and it’s essential to take preventative measures to avoid costly damage. One of the most crucial steps you can take is safely draining your pipes before temperatures drop. Failing to do so can lead to frozen pipes, burst pipes, and water damage. In this section, we will provide you with expert advice on how to safely drain your pipes, ensuring that your home remains protected throughout the winter season. Key Takeaways: Winter plumbing wisdom is crucial for protecting your home’s plumbing during colder months Safely draining pipes can prevent costly damage caused by frozen pipes Identifying vulnerable pipes and insulating them can provide extra protection Regular winter plumbing maintenance can keep your pipes in optimal condition By following these best practices, you can enjoy a worry-free winter season with well-maintained plumbing Winter Plumbing Wisdom: How to Safely Drain Pipes – Why Draining Pipes is Important in Winter? Protecting pipes in winter is crucial to prevent frozen pipes and potential damage to your home. Frozen pipes can burst and cause water damage, leading to expensive repairs and inconvenience. That’s why it’s essential to understand the importance of draining pipes before winter arrives. Freezing temperatures cause water inside pipes to expand, leading to cracks and damage. By draining pipes, you remove excess water that could expand and cause damage. It not only protects your pipes but also saves you from costly repairs. Unsure of which pipes to drain? Some pipes to prioritize draining include those located outside, in unheated areas, or close to exterior walls. By draining these pipes, you reduce the chances of damage from freezing temperatures during the winter months. “By draining pipes before winter, you can prevent significant damage to your home.” Winter Plumbing Maintenance Tips  winter plumbing guide and how to prevent frozen pipes: To keep your plumbing system in optimal condition throughout the winter, regular maintenance is crucial. Here are some practical winter plumbing tips to keep your pipes functioning smoothly: Inspect Pipes Inspect visible pipes regularly to check for leaks, cracks, or other damage. Early detection of these issues can prevent them from worsening and causing larger, more costly problems. Remove Outdoor Hoses Be sure to remove outdoor hoses and store them indoors to prevent water from backing up into the pipes and potentially causing them to freeze. Insulate Your Home Winter plumbing advice: Insulate your home to keep the warm air inside and prevent cold air from entering, which can lower the temperature of your pipes and increase the risk of freezing. Consider adding insulation to attics, basements, and crawl spaces. Keep the Heat On When you’re away from home, keep your heat set to at least 55 degrees Fahrenheit to prevent your pipes from freezing. This will also help save on energy costs by maintaining a consistent temperature inside your home. Use Drain Covers drain pipes safely and Place drain covers over sinks, bathtubs, and showers to prevent hair, soap, and other debris from clogging your pipes. This can help avoid costly plumbing repairs caused by backups or blockages. By following these winter plumbing tips, you can ensure that your pipes remain in top shape throughout the colder months. Proactive maintenance can help you avoid costly plumbing issues while also keeping your home comfortable and safe. Identifying Vulnerable Pipes As we discussed in the previous section, frozen pipes can wreak havoc on your plumbing system during winter. Some pipes are more susceptible to freezing than others, leaving them vulnerable to damage. Identifying these pipes is crucial to taking preventative measures and avoiding costly repairs. Here’s what to look out for: Type of Pipe Location Exterior pipes including pipes that run along the outside of your home, such as water supply lines and outdoor faucets Pipes in unheated areas such as garages, crawl spaces, and attics Pipes with little to no insulation including those made of copper or plastic By identifying these vulnerable pipes, you can take steps to prevent them from freezing and causing damage to your plumbing system and home. In the next section, we will discuss how to safely drain your pipes for winter. How to Safely Drain Pipes  plumbing tips for cold weather:  drain pipes safely is an essential step in protecting your plumbing system during the colder months. By following these winter plumbing tips, you can prevent costly damage to your home, ensuring that your pipes remain in good working order. Here’s how you can safely drain your pipes for winter: Locate your home’s main water shut-off valve. Turn off the main water supply to your home. Open all the faucets in your home to allow the remaining water to drain out of the pipes. Check your hot water system and drain the water from it as well. Don’t forget to consult your hot water system manual for instructions specific to your system. Once all the water has drained from your system, close all the taps and ensure they’re tightly shut. Inspect your pipes for any leaks or damage, and make repairs if necessary. By following these simple instructions, you can safely drain your pipes and avoid the hassle and expense of frozen pipes. Remember, prevention is key when it comes to protecting your plumbing system during the winter months. “Safely draining your pipes is a crucial step in protecting your home during the colder months. It’s a simple process, but it can save you costly damage over time.” Insulating Your Pipes for Extra Protection Alongside draining your pipes, insulating them can provide an extra layer of protection against freezing. By following these winter plumbing tips, you can keep your plumbing system in good working order throughout the colder months. Properly insulating your pipes can help prevent them from freezing, bursting, and causing costly damage to your home. The process of insulating your pipes involves wrapping them in insulating material, which helps to retain heat and prevent freezing. Here are some tips

Read More

Gas Leak Awareness: Knowing the Signs Can Save Lives

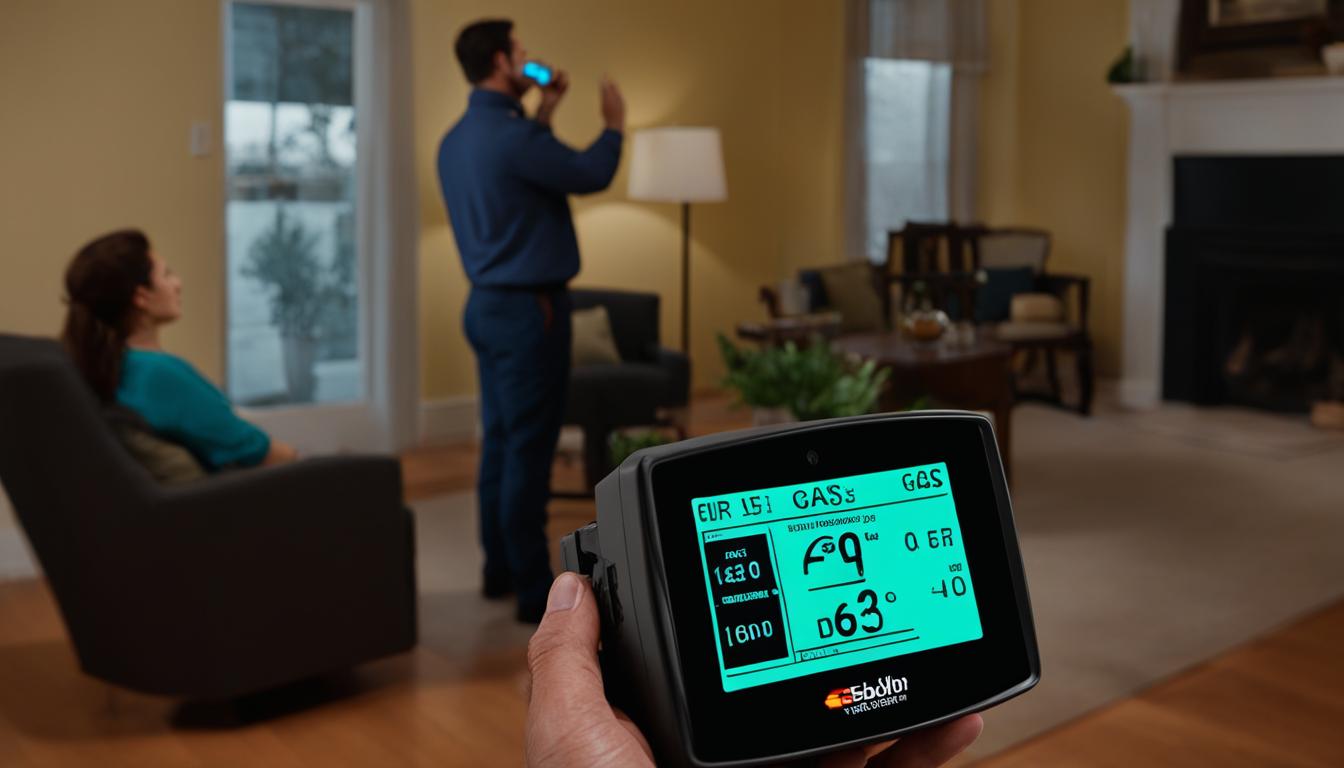
Gas Leak Awareness: Knowing the Signs Can Save Lives Gas leaks are a serious safety hazard that can occur in any home. They can lead to fires, explosions, and even death if not detected and addressed promptly. Therefore, it’s essential to be aware of the signs of gas leaks, take steps to prevent them from occurring and know what to do in an emergency. In this article, you will learn how to protect yourself and your loved ones with gas leak awareness. We will discuss the signs and symptoms of gas leaks, methods of detection, prevention tips, and emergency response procedures. By implementing the knowledge contained in this article, you can create a safer environment for yourself and your family. Key Takeaways Gas leaks can be deadly, so it’s essential to know the signs and symptoms to detect them early. Prevention measures are crucial to avoid gas leaks in the first place, and everyone in your household should be aware of them. In the event of a gas leak emergency, it’s crucial to act quickly and follow proper procedures to ensure your safety and that of those around you. Gas leak awareness should be an ongoing effort, including education and training opportunities for you and others in your household. Stay alert and prioritize gas leak prevention and safety for a secure home environment. Identifying the Signs of Gas Leaks Gas leaks can be dangerous and sometimes even fatal. To protect yourself and those around you, it’s important to know the signs and symptoms of gas leaks. The most common signs of gas leaks include a strong odor similar to rotten eggs, a hissing or whistling sound near gas lines and appliances, and dead houseplants or vegetation near natural gas pipelines. If you experience symptoms such as dizziness, nausea, headaches, or fatigue, it may be an indication of a gas leak. Additionally, if you notice appliances or burners with yellow or orange flames instead of blue, it can be a sign of improper combustion due to a gas leak. To detect a gas leak, you can use gas leak detectors, which are available at most home improvement stores. If you suspect a gas leak, leave the premises immediately and call your gas company or 911. What to do if you suspect a gas leak? If you suspect a gas leak, follow these steps: Evacuate the premises immediately. Call the gas company or 911 from a safe location. Don’t use any appliances, lights, or matches, or turn on or off any electrical switches. Don’t start any vehicles or use any phones until you are safely away from the area of the suspected leak. If you smell gas outside, don’t start digging or spraying water as this can cause gas to spread and make the situation worse. Remember, gas leaks can be dangerous, so it’s important to take action immediately if you suspect one. By being aware of the signs and symptoms of gas leaks, you can help ensure the safety of yourself and those around you. Gas Leak Prevention and Safety Tips The best way to deal with gas leaks is to prevent them from occurring in the first place. Here are some practical gas leak prevention tips that you can implement in your home: Regular Maintenance: Conduct regular maintenance checks on your gas appliances, such as boilers, stoves, and water heaters, to ensure that they are functioning optimally and to detect any potential gas leaks early. Ventilation: Ensure that your home is well-ventilated, especially in areas where gas appliances are located. Proper ventilation can help to reduce the accumulation of gas fumes and increase air circulation. Cooking safety: Do not leave your stove unattended while cooking. Make sure that your cooking area is clean and free from grease buildup, which can increase the risk of fire and gas leaks. Gas detectors: Install gas detectors in your home, especially in areas where gas appliances are located. These devices can detect the presence of gas leaks and alert you to take action before the situation escalates. Along with gas leak prevention, there are also important safety measures that you can take to minimize the risk of gas leak incidents and ensure the well-being of everyone in your household: Proper ventilation: Always ensure proper ventilation in your home, especially in areas where gas appliances are installed. Providing fresh air can help to reduce the risk of gas buildup. No smoking: Do not smoke or use any open flames near gas appliances or in areas where gas leaks are suspected. This can increase the risk of fire and explosions. Evacuation: If you suspect a gas leak, evacuate your home immediately and call the gas company or emergency services. Do not attempt to locate the leak or turn off gas valves on your own. “Gas leak prevention and safety should be taken seriously. By following these practical tips, you can minimize the risk of gas leaks in your home and protect your family.” Understanding Gas Leak Hazards Gas leaks pose various hazards that can cause significant damage, injury, and even death if not handled quickly and efficiently. It is essential to be aware of these hazards to take the appropriate preventive measures and respond appropriately during a gas leak emergency. What are the Gas Leak Hazards? Gas leaks can lead to several hazardous situations, including: Explosion: When gas leaks and accumulates in enclosed spaces, the smallest spark can trigger an explosion, causing significant property damage and loss of life. Fire: Gas leaks can also lead to fires, exposing people to toxic fumes and further damaging property. Health hazards: Exposure to natural gas can result in various health issues, such as headaches, dizziness, nausea, and asphyxia. How to Prevent Gas Leak Hazards? The best way to prevent gas leak hazards is by being careful and taking prompt measures when you suspect a gas leak. Here are some guidelines to keep in mind: Regularly check for gas leaks by inspecting appliances, pipes, and ventilation systems to ensure

Read More

Cracking the Code of Dry Air: Solutions for a Comfortable Home

Home Safety and Protection: Peace of Mind Starts at Home!

Our “Home Safety and Protection” category empowers you to create a secure haven for your family and belongings.

**In this category, you’ll discover:**

  • Deterring Burglary and Theft: Preventive measures, security improvements, and safeguarding valuables.
  • Smart Home Security Systems: Advancements in alarms, cameras, and remote monitoring for peace of mind.
  • Fire Safety Essentials: Fire prevention, extinguisher use, and safe escape plans.
  • Natural Disaster Preparedness: Strategies to prepare your home and family for natural disasters.
  • Creating a Safe Environment: Common household hazards and safety measures to prevent accidents and injuries.

**Be proactive, stay protected!** Bookmark this category and explore insightful articles that guide you towards a safer and more secure home environment.

**Top-Rated Plumbing & HVAC Services: Expert Care for Your Home**

Need reliable plumbing and HVAC services under one roof? We offer a comprehensive range of solutions to keep your home's water and climate systems functioning smoothly. Our experienced professionals can handle everything from emergency repairs and routine maintenance to installations and upgrades.

Recent Posts