Expert Home Services LLC
377 Valley Rd, Clifton, NJ
Available 24/7 to take your orders!
Follow us:
Page Title BG
Category: Plumbing Blog Topics

Sink Replacement Dilemma: Find Your Perfect Match

Sink Replacement Dilemma: Find Your Perfect Match If you’re considering a sink replacement, you’re not alone. Many homeowners find themselves facing the sink replacement dilemma: how to choose the right type of sink that fits their needs. With so many options available, it can be overwhelming to figure out where to even begin. Fortunately, we’re here to help. In this section, we’ll break down the sink replacement process and guide how to choose the perfect sink for you. Key Takeaways Choosing the right type of sink is important for your needs. There are many different sink replacement options available. Installation is a crucial part of the process. Don’t be quick to replace your sink – sometimes, a simple fix is all you need. By following our guidance, you’ll be able to choose the perfect sink for your replacement project. Understanding Sink Options Replacement When it comes to sink replacement, there are many Sink Options Replacement options available to you. Understanding the different types of sinks and the materials they are made from is essential in making an informed decision. Types of Sinks There are various types of sinks to choose from, each with its unique features and benefits: Undermount Sinks: Installed under the countertop, these sinks are sleek and easy to clean but may require professional installation. Top-Mount Sinks: Also known as drop-in sinks, these are the most common type of sink and are easy to install but may be more challenging to clean. Farmhouse Sinks: These large, deep sinks are trendy and perfect for large families or those who cook often, but they may not fit in with all kitchen designs. Pedestal Sinks: These sinks are ideal for small spaces such as half bathrooms or powder rooms. They are mounted on a pedestal, freeing up floor space and creating a clean and modern look. Sink Materials The material your sink is made from can also impact its aesthetic and functionality. Some common sink materials include: Material Description Stainless Steel Durable, easy to clean, and resistant to heat and stains Cast Iron Heavy and durable, with a classic look, but may be prone to chipping and may require extra maintenance Porcelain Classic and easy to maintain, but may be prone to cracking and chipping Composite Made from a mix of materials, this sink type is durable and resistant to stains and scratches but may be expensive. By understanding sink replacement options such as types of sinks and sink materials, you’ll be able to choose wisely when replacing your sink. Consider your specific needs and style preferences when making your decision. Ensuring a Smooth Sink Installation Installing a new sink can be a daunting task, but with the right preparation and know-how, you can ensure a successful installation. Whether you’re replacing a kitchen sink or a bathroom sink, there are several important considerations you’ll need to keep in mind. Below, we’ve outlined some key tips and strategies for ensuring a smooth sink installation. Gather the Right Tools and Materials Before you get started, make sure you have all the necessary tools and materials on hand. This may include a wrench, screwdrivers, plumber’s putty, mounting hardware, and a new drain and faucet if needed. Check the installation instructions for your specific sink to ensure you have everything you need. Prepare the Sink Location Make sure the sink location is ready for installation. This may involve removing the old sink, ensuring the opening is the right size and shape for the new sink, and cleaning up any debris or old caulking. You may also need to install additional support brackets or mounting hardware to ensure the sink is secure. Follow Installation Instructions Carefully Once you’re ready to install the sink, it’s important to follow the manufacturer’s instructions carefully. This may involve attaching the mounting hardware, applying the plumber’s putty to the underside of the sink, and tightening bolts and connections as needed. Take your time and double-check all connections and fittings to ensure a secure and leak-free installation. If you’re unsure about any aspect of the installation process, don’t hesitate to seek advice from a professional plumber or contractor. “A successful sink installation begins with proper preparation and attention to detail.” Common Pitfalls to Avoid Even with careful planning and execution, there are a few common pitfalls to be aware of when installing a new sink. Avoid these mistakes to ensure a successful installation: Not ensuring a level installation, which can cause problems with drain and faucet connections Using too much plumber’s putty can cause the excess to squeeze out and create a messy installation Over-tightening bolts and connections, which can strip threads or damage plumbing components Not properly sealing around the sink edge with caulking, can allow water to seep under the sink Fixing Sink Problems: When Replacement Isn’t Necessary Are you experiencing issues with your sink? Before jumping to the conclusion that you need a full sink replacement, let’s explore some common sink problems and see if any simple fixes can save you time and money. Clogged Drain One of the most common sink problems is a clogged drain. Rather than reaching for harsh chemicals that can damage your pipes, try using a plunger or a drain snake to clear the blockage. If the clog is too severe, consider contacting a professional plumber for assistance. Leaky Faucet A leaky faucet not only wastes water but can also lead to water damage in your sink and surrounding areas. The problem is often caused by a worn-out washer or O-ring, which can be easily replaced. Alternatively, you can replace the entire faucet if it’s outdated or beyond repair. Water Pressure Issues Low water pressure can be frustrating when trying to rinse dishes or wash your hands. Check your shut-off valves to make sure they’re fully open and not partially closed. You can also remove your aerator to check for any blockages that may be hindering your water flow. Cracks or Chips If your sink has surface damage such as cracks or chips,

Read More

Troubleshooting: Why Is My Garbage Disposal Not Working?

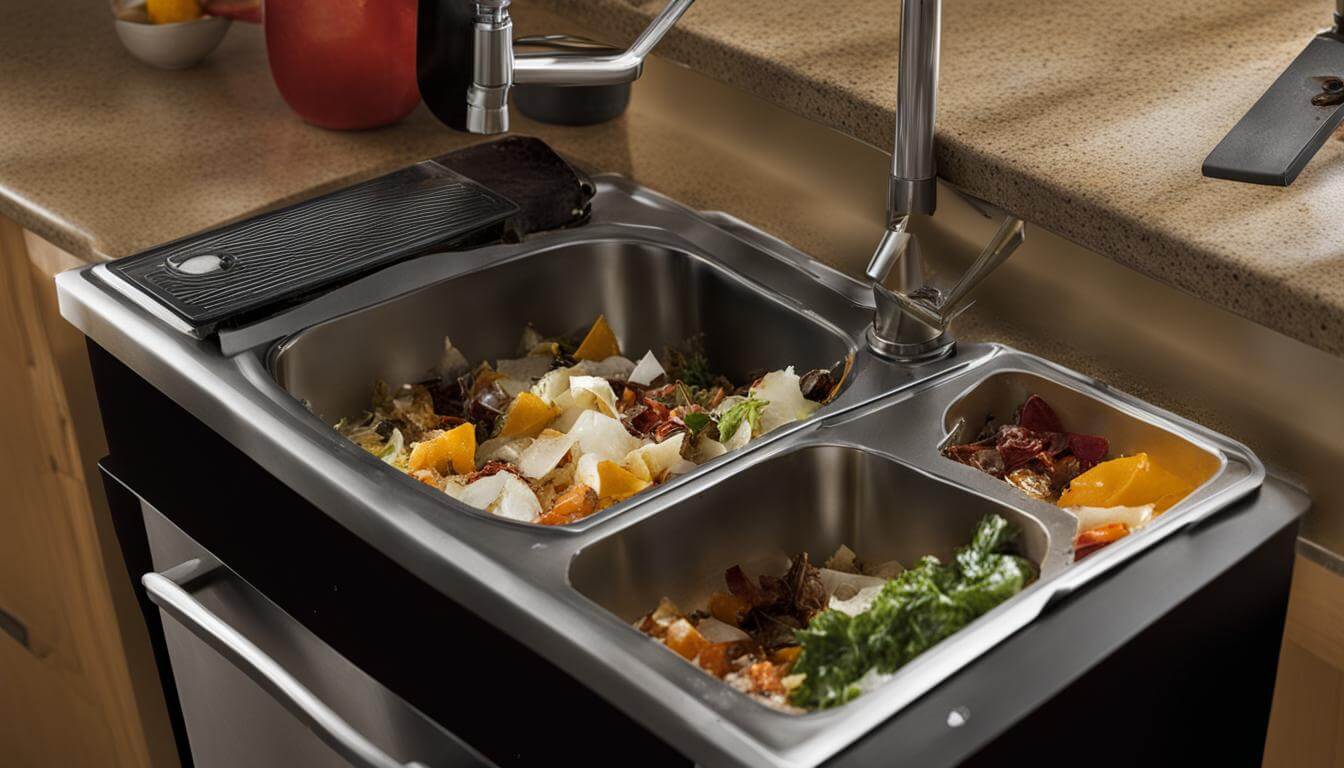
Troubleshooting: Why Is My Garbage Disposal Not Working? If you’re experiencing issues with your garbage disposal, you’re not alone. Garbage disposals not working is a common problem that can be caused by a range of issues, from electrical problems to jammed units. Fortunately, with some troubleshooting, you can diagnose and fix many of these issues on your own. Key Takeaways: Garbage disposals can experience various issues that prevent them from working properly. Troubleshooting can help diagnose and solve many common problems. Some issues may require professional repair or replacement. Following safety protocols is essential when troubleshooting and repairing a garbage disposal. Maintaining your garbage disposal properly can help prevent future issues. Troubleshooting: Why Is My Garbage Disposal Not Working? garbage disposal not turning on: If your garbage disposal is not turning on, it can be frustrating. Fear not, this common issue can usually be resolved through troubleshooting and fixing the problem yourself. Here are some steps to troubleshooting garbage disposal follow: Check for Power: Ensure that your garbage disposal is plugged in and that the circuit breaker is not tripped. If the unit is not receiving power, it will not turn on. Reset the Unit: Some garbage disposals have a reset button located on the bottom of the unit. Press and hold this button for a few seconds to reset the disposal, and then try turning it on again. Remove Jammed Objects: A jammed garbage disposal can also cause it to not turn on. Before attempting to clear any clogs, always ensure that the unit is unplugged or turned off at the circuit breaker. Use a flashlight and look inside the disposal for any large, hard objects that may be causing the jam. Clear the Jam: If the object is visible, use tongs or pliers to remove it from the unit. For smaller clogs, use a specialized wrench that fits into the bottom of the unit to manually turn the blades and clear the jam. Call a Professional: If the above steps do not work, it may be time to call a professional for repair or replacement. Attempting to fix an electrical issue without the proper knowledge and tools can be dangerous. You can avoid future garbage disposal problems by practicing good maintenance habits. Always run water before and after using the disposal, avoid putting hard or fibrous material down the drain, and clean the unit regularly with a mixture of ice cubes and vinegar. Troubleshooting Garbage Disposal Problems Garbage disposals are highly convenient appliances, but they can also be prone to certain problems. Here are some common garbage disposal problems you may encounter: Strange noises coming from the unit Leaks under the sink Unpleasant odors emanating from the disposal Fortunately, these problems can usually be resolved with some troubleshooting. Here are some tips to get you started: Strange noises: If your garbage disposal is making odd noises, it could be due to a jammed unit or a loose blade. To fix this, turn off the disposal and use pliers or tongs to remove any obstructions. Leaks: Leaks can occur due to a faulty gasket or loose connections. Check the gasket and connections for any damage or looseness and tighten as necessary. Odors: Odors can be a sign of built-up food particles or bacteria. Run some ice cubes and citrus peels through the disposal to eliminate odors and prevent future build-up. If these troubleshooting tips don’t solve the problem, it may be time to call in a professional. They can assist with more complex issues such as electrical problems or internal motor damage. Fixing Your Garbage Disposal After identifying the problem with your garbage disposal, it’s time to fixing garbage disposal. Follow these step-by-step instructions to repair common issues and ensure a successful repair. Resetting Your Garbage Disposal If your garbage disposal is not working at all, it may just need to be reset. Ensure the switch is in the “off” position. Locate the red reset button on the bottom of the garbage disposal. Press the button firmly. Turn the switch on to test if the garbage disposal is working. Clearing a Jammed Garbage Disposal If your garbage disposal makes a humming noise but does not turn on, it may be due to a jam. Turn off the unit and unplug it from the power source. Use a flashlight and tongs to carefully remove any objects or debris causing the jam. Plug the unit back in and turn it on to test if the garbage disposal is working properly. Replacing a Faulty Part If your garbage disposal is still not working after troubleshooting, it may be due to a faulty part that needs to be replaced. Garbage Disposal Part Replacement Instructions Garbage Disposal Blades Clean or replace blades according to the manufacturer’s instructions or replace the entire unit. Garbage Disposal Motor Replace the motor according to the manufacturer’s instructions or replace the entire unit. Garbage Disposal Switch Replace the switch according to the manufacturer’s instructions. Be sure to consult your garbage disposal’s user manual for specific replacement instructions and safety precautions. With the right tools and know-how, fixing your garbage disposal can save you time and money. Remember to always prioritize safety and contact a professional if you are unsure or uncomfortable with any repair tasks. Conclusion In conclusion, troubleshooting your garbage disposal is an essential part of maintaining it. By following the tips and steps outlined in this article, you should now be able to diagnose and fix the most common issues. Remember to always prioritize safety and shut off the power source before attempting any repairs. If you have any doubts or are uncomfortable handling repairs, consider contacting a professional. Taking care of your garbage disposal will ensure its longevity and save you money on costly repairs in the long run. Happy troubleshooting! FAQ Q: Why is my garbage disposal not working? A: There could be several reasons why your garbage disposal is not working, such as a tripped breaker, a clogged drain, or a malfunctioning motor. To

Read More

Water Heaters: A Comprehensive Guide to Choosing the Right One

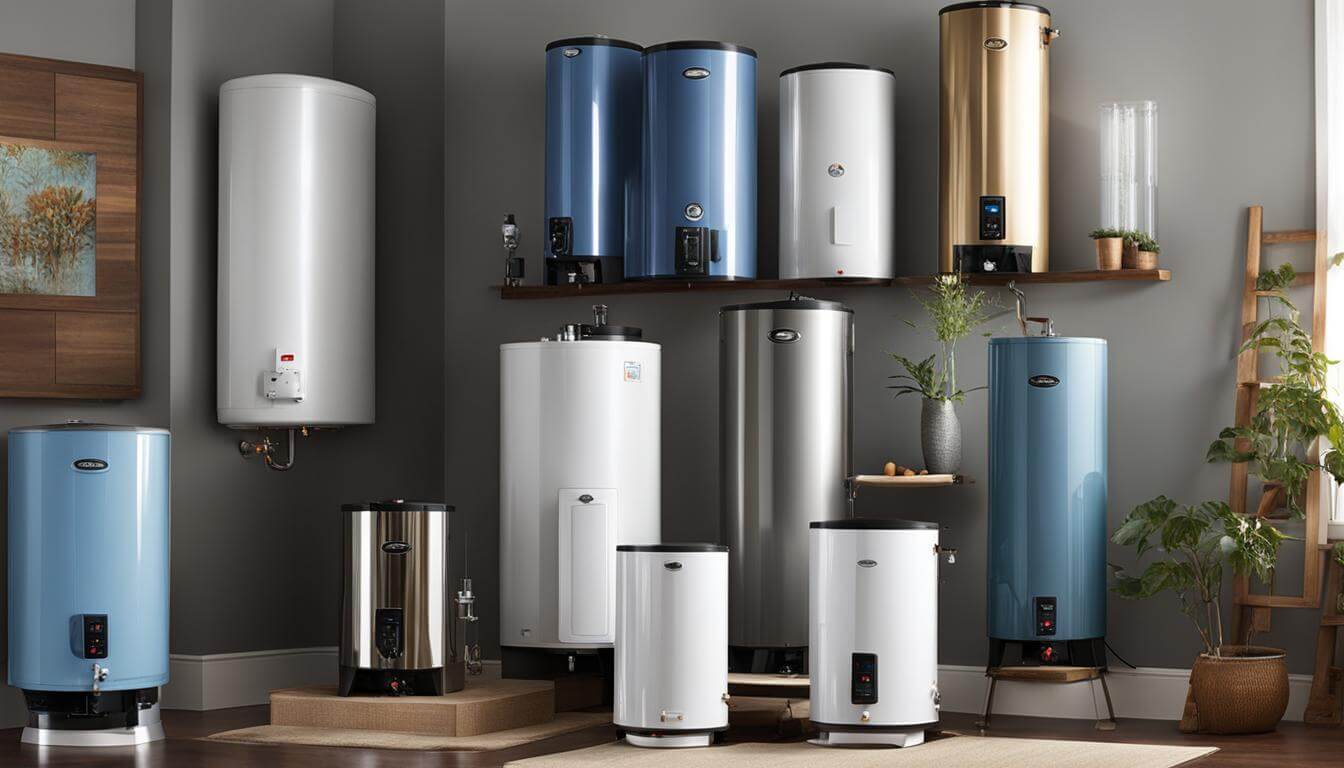
Water Heaters: A Comprehensive Guide to Choosing the Right One Welcome to our comprehensive guide on water heaters! Are you looking to upgrade your current water heater or install a new one? With so many options available on the market, choosing the right one can be a daunting task. That’s why we’re here to help! Our expert advice will guide you through the process of choosing the perfect water heater for your home. Whether you’re in the market for an electric, gas, or tankless water heater, we’ve got you covered. Let’s get started! Before we dive in, let’s take a quick overview of what to expect from this guide: Discussing the different types of water heaters available. Highlight the key factors to consider when choosing a water heater. We’ll guide you through the water heater installation process, as well as maintenance tips. Finally, in Section 5, we’ll wrap up with concluding remarks. Key Takeaways: Choosing the right water heater is crucial for both comfort and efficiency. There are various types of water heaters available, including electric, gas, and tankless. Energy-efficient water heaters are a smart choice for both the environment and your wallet. Taking into account factors such as size, capacity, and energy efficiency can help you make an informed decision. Proper installation and maintenance are critical for optimal performance and prolonging the life of your water heater. Understanding Different Types of Water Heaters When it comes to choosing a water heater, the first thing you need to consider is the type. There are three main types of water heaters: electric, gas, and tankless. Each type has its benefits and drawbacks, so it’s important to know what you’re getting into. Electric Water Heaters Electric water heaters are relatively easy to install and don’t require any special venting or gas lines. They also tend to be less expensive than gas water heaters. However, they can be less energy-efficient than their gas counterparts, and they may not work as well in cold climates. Gas Water Heaters Gas water heaters are typically more expensive than electric water heaters, but they tend to be more energy-efficient and provide faster hot water recovery times. They also work well in cold climates, but they require special venting and gas lines. Tankless Water Heaters Tankless water heaters are becoming increasingly popular due to their energy efficiency and space-saving design. They only heat water as it’s needed, which means you can save money on your energy bills. However, they tend to be more expensive upfront, and they may not be able to keep up with hot water demand if you have a large family. Energy-Efficient Water Heaters It’s important to note that energy efficiency should be a top priority when choosing any type of water heater. Look for models with the ENERGY STAR® label, which means they meet strict energy efficiency guidelines set by the U.S. Environmental Protection Agency. Choosing an energy-efficient water heater can help you save money on your energy bills and reduce your carbon footprint. Factors to Consider When Choosing a Water Heater Now that you have a better understanding of the different types of water heaters, it’s time to consider some crucial factors to make the right choice. 1. Size and Capacity It’s crucial to choose a water heater that can handle the needs of your household. Calculate the amount of hot water you need daily and compare it with the tank’s size to make sure that it can keep up. 2. Fuel Type Water heaters run on either electricity or natural gas. Electric water heaters tend to be more energy-efficient, while gas models are more expensive and require venting. Consider which fuel type is more accessible and cost-effective in your area. 3. Efficiency High-efficiency water heaters can save you money in the long run by reducing energy consumption. Look for Energy Star-rated models or those with a high energy factor (EF) to ensure maximum efficiency and savings. 4. Cost Water heaters come in a range of prices, and you’ll want to find a model that fits your budget. While it may be tempting to opt for a cheaper model, investing in a more expensive but efficient water heater can save you money in the long run. 5. Maintenance and Warranty Proper maintenance is crucial to ensure the longevity and efficiency of your water heater. Be sure to read the manufacturer’s instructions and consider the warranty terms when making your final choice. Best Water Heaters on the Market We understand that choosing the right water heater can be overwhelming, so we’ve put together a list of the best water heaters on the market to help narrow down your options. These models have been selected based on their efficiency, capacity, and overall performance. Model Type Capacity Efficiency Price Rheem Performance Platinum Electric Water Heater Electric 50 gallons 0.93 EF $1,059 Rheem Performance Platinum Gas Water Heater Gas 50 gallons 0.70 EF $1,299 Takagi T-KJr2 Gas Tankless Water Heater Tankless N/A 0.82 EF $595 EcoSmart ECO 27 Electric Tankless Water Heater Tankless N/A 0.96 EF $478 A.O. Smith Signature Premier Gas Water Heater Gas 50 gallons 0.70 EF $749 Remember, choosing the right water heater for your home can be a daunting task, but considering the factors discussed above and using our top picks can ensure a stress-free purchase and a comfortable home. Water Heater Installation and Maintenance Congratulations on choosing the perfect water heater for your home! Now, it’s time to take the necessary steps to ensure proper installation and maintenance for optimal performance and longevity. Follow these simple steps below for a smooth installation process: First, turn off the power and water supply to your existing water heater. Next, drain the tank and disconnect the old water heater, carefully removing it from the area. Install the new water heater, carefully following the manufacturer’s instructions. Once installation is complete, turn on the power and water supply and test the unit to ensure it’s in good working condition. Maintaining your water heater is equally important

Read More

Leak Detection Economics: How It Saves You Money

Unclog Your Knowledge

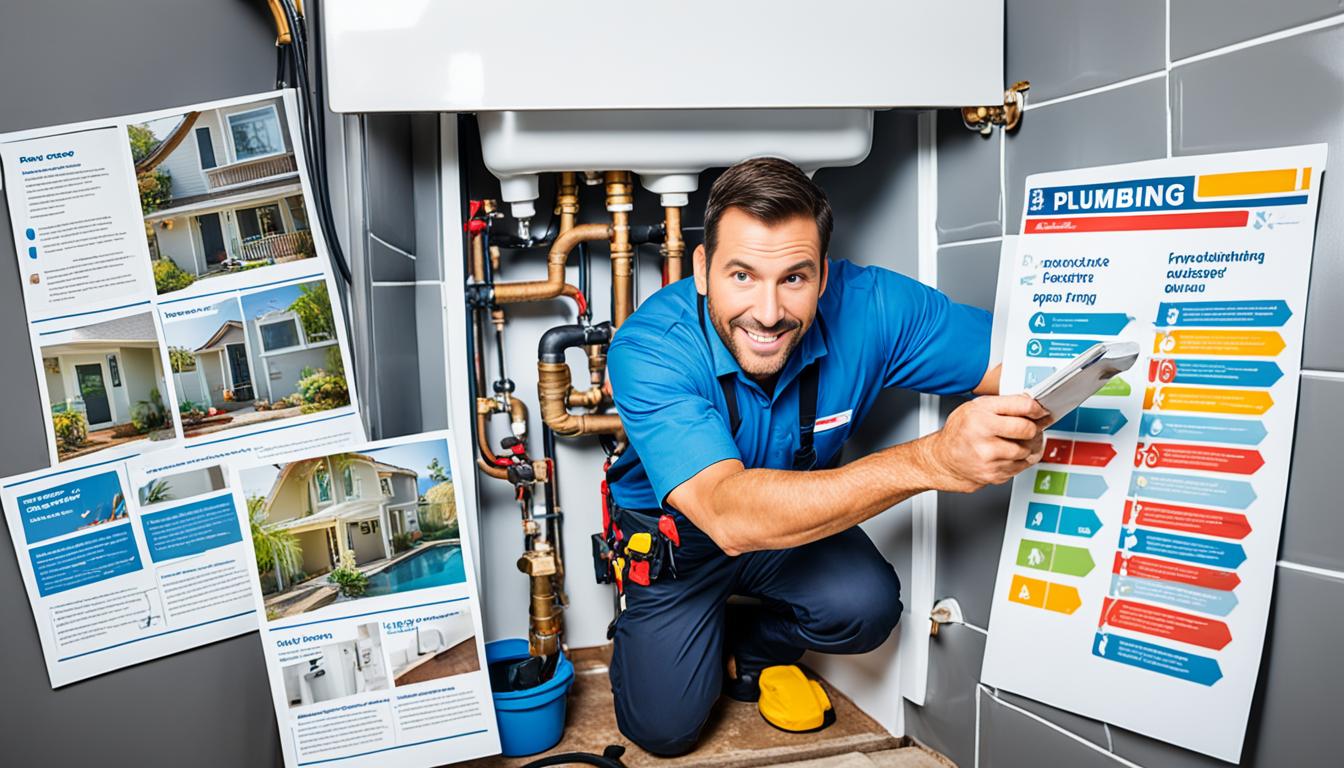
Plumbing problems? We’ve got you covered. Learn to fix leaky faucets, clogged drains, and more.

**Save time and money:** Our DIY guides empower you to tackle common plumbing issues yourself.

**Prevent future headaches:** Discover maintenance tips to keep your plumbing running smoothly.

  • DIY Fixes: Step-by-step guides for easy repairs.
  • Maintenance Tips: Prevent costly emergencies.
  • Troubleshooting Guides: Diagnose problems yourself.
  • Product Reviews: Make informed choices about upgrades.
  • System Understanding: Gain insights for better decisions.

**Empower yourself!** Bookmark this category for insightful articles that keep your water flowing.

**Top-Rated Plumbing & HVAC Services: Expert Care for Your Home**

Need reliable plumbing and HVAC services under one roof? We offer a comprehensive range of solutions to keep your home's water and climate systems functioning smoothly. Our experienced professionals can handle everything from emergency repairs and routine maintenance to installations and upgrades.

Recent Posts