Expert Home Services LLC
377 Valley Rd, Clifton, NJ
Available 24/7 to take your orders!
Follow us:
Page Title BG
Category: Plumbing Blog Topics

Plumbing Emergencies: Steps for a Quick Response

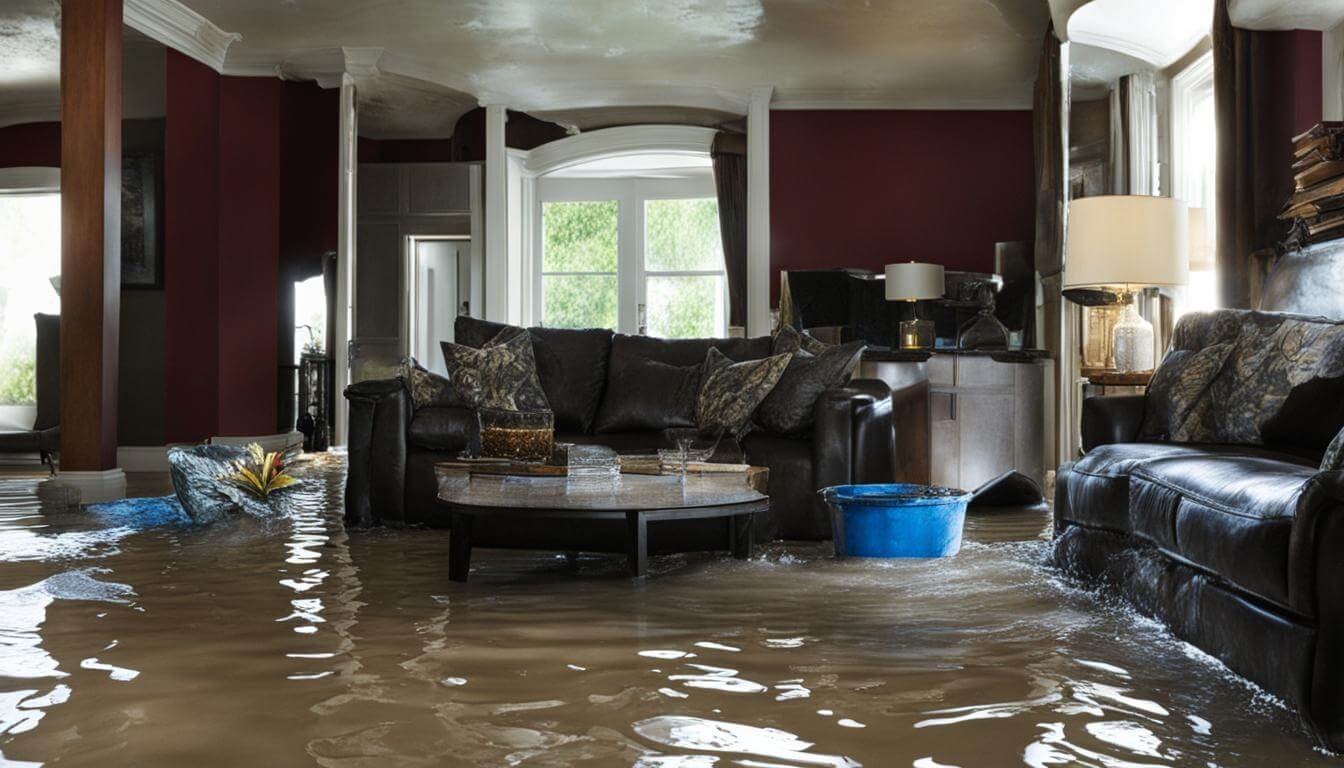
Plumbing Emergencies: Steps for a Quick Response Disaster strikes when you least expect it, and plumbing emergencies are no exception. When faced with a burst pipe or flooding, you must take immediate action to minimize damage and avoid costly repairs. Knowing what to do in these situations can make a significant difference in the outcome. In this article, we’ll cover the steps you need to take for a quick response when plumbing emergencies occur. You’ll learn about DIY fixes, the importance of professional plumbers, and troubleshooting steps you can take before seeking urgent plumbing help. Read on to discover how to prepare for and respond to plumbing emergencies to prevent water damage and protect your home. Key Takeaways: Plumbing emergencies can happen at any time, so it’s essential to be prepared. Immediate action is necessary to minimize damage and avoid costly repairs. DIY fixes can help mitigate damage before professional plumbers arrive. Contact emergency plumbing services for complex plumbing emergencies. Knowing troubleshooting steps can reduce the risk of further damage and prevent water damage. Understanding Plumbing Emergencies Plumbing emergencies can strike at any time, leaving you with water damage or worse if you don’t take immediate action. From burst pipes to overflowing toilets, plumbing disasters can be costly and stressful. That’s why it’s important to understand what constitutes a plumbing emergency and how you can respond quickly to minimize the damage. A plumbing emergency can be defined as a sudden and unexpected event that requires urgent plumbing help. It can be caused by a variety of factors, such as natural disasters, clogged drains, frozen pipes, or broken water lines. When disaster strikes, you must take decisive and immediate action to prevent further damage and keep your property safe. One of the best ways to prepare for a plumbing emergency is to have a plan in place ahead of time. This may include knowing how to shut off the water supply, having a list of emergency plumbing services on hand, and having some basic DIY fixes at your disposal. By recognizing the signs of a plumbing emergency and taking swift action, you can prevent a relatively small issue from spiraling into a major disaster that requires expensive repairs. Remember, when it comes to plumbing emergencies, every second counts! Did you know? According to a recent study, the most common plumbing emergencies include burst pipes (37%), clogged drains (31%), and broken water heaters (18%). Quick DIY Fixes to Mitigate Damage Plumbing emergencies can cause significant damage to your home if left unaddressed. While waiting for professional plumbers to arrive, there are some quick do-it-yourself fixes that you can implement to mitigate the damage. If you’re faced with a burst pipe, turning off the water supply is crucial to prevent further damage. This can be done by finding the main shut-off valve and turning it clockwise until it stops. Once the water supply has been cut off, turn on all the faucets to drain excess water from the system. For minor leaks, applying duct tape to seal them temporarily can help to contain the problem until professional help arrives. If you notice a clogged drain or toilet, avoid using chemical drain cleaners as they can damage your pipes. Instead, try to unclog them using a plunger, or a plumbing snake if the blockage is deeper in the pipes. To prevent water damage, use towels or a wet-dry vacuum to remove any standing water in your home. Make sure to turn off any electrical appliances in the affected area to prevent electrocution or damage to the appliances. Remember, these quick DIY fixes are just temporary solutions, and it’s always best to seek professional help for any plumbing emergencies. Contacting Emergency Plumbing Services When faced with a plumbing emergency, it’s important to seek urgent plumbing help from professional plumbers. Emergency plumbing services have the expertise and equipment to tackle complex plumbing problems quickly and efficiently, minimizing the risk of water damage and costly repairs. Don’t hesitate to contact emergency plumbing services as soon as you notice a problem. Delaying can only exacerbate the issue and lead to even more significant damage and expense. Whether it’s a burst pipe, a sewage backup, or a malfunctioning shower drain, professional plumbers can provide the necessary help to get your plumbing system back in working order. “Leaking pipes can quickly lead to water damage, making it crucial to seek professional help from emergency plumbing services as soon as possible.” Remember that not all plumbing problems require emergency services, but it’s better to err on the side of caution if you’re unsure. By contacting professional plumbers and receiving quick and effective solutions, you can mitigate damage and save money in the long run. Troubleshooting Steps for Plumbing Emergencies When a plumbing emergency occurs, time is of the essence. Immediate action can help prevent further damage, so it’s vital to know what to do. Here are some troubleshooting steps to take for common types of plumbing emergencies: Leaking Pipes If you have a leaking pipe, turn off the water supply immediately and assess the situation. Don’t try to fix it yourself unless you know what you’re doing. Instead, call a professional plumber for assistance. Clogged Drains If you have a clogged drain, try using a plunger to dislodge the blockage. If that doesn’t work, try using a drain snake to remove the obstruction. You can also try pouring a mixture of baking soda and vinegar down the drain to dissolve the blockage. If none of these solutions work, call a professional plumber for help. Burst Pipes If a pipe has burst in your home, turn off the water supply immediately and open all the faucets to drain the water. Then call a professional plumber to fix the problem. If there is water damage, take steps to prevent further damage by removing any standing water and drying the affected area. Remember, the key to preventing water damage and minimizing the potential costs of plumbing emergencies is taking immediate action and contacting

Read More

Fix Your Leaking Faucet Quickly & Easily

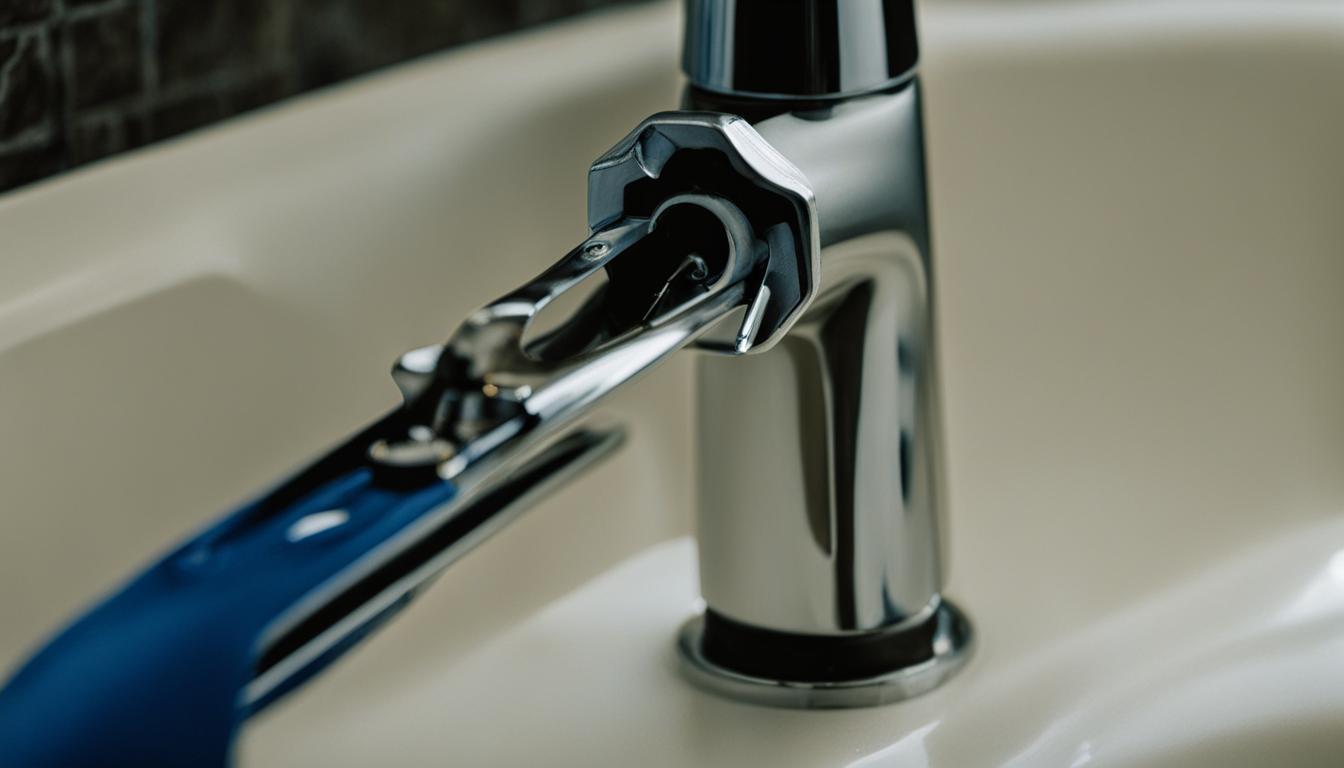
Fix Your Leaking Faucet Quickly & Easily If you’ve discovered a persistent drip that’s keeping you up at night, don’t worry. You’re about to learn how a DIY Faucet Repair can be simpler than you think. With a bit of time and the right guidance, you can stop a leaking faucet and take pride in your handiwork. Tackling basic faucet maintenance not only saves you money but also conserves water, making each drop count. Ready to roll up your sleeves and get started? Take comfort in knowing that with a few straightforward steps, you’ll have that drip fixed in no time. Key Takeaways Empower yourself with the ability to fix a leaky faucet, avoiding pricey plumbing bills. Understand that regular faucet maintenance is key to long-term water conservation. Embrace the simplicity of home sink DIY projects and gain confidence in your repair skills. Gain the satisfaction of resolving household issues promptly through self-reliance. Learn to identify the signs of a faucet needing attention to prevent potential water damage. Understanding Your Faucet’s Components Embarking on a journey to fix a leaky faucet requires a fundamental understanding of its various components and how they function together. In this section, we’ll delve into the diversity of faucets you might find in your home and explore their anatomy. This knowledge is crucial for effective faucet troubleshooting and will empower you to fix leaking faucets with confidence. Identify Your Faucet Type Before you pick up a wrench, it’s imperative to identify what type of faucet you have. This dictates the steps you’ll take for diagnosis and repair. Common types include: Compression Faucets: These rely on rubber washers to seal the valve seat, and leaks often signal that these washers need replacement. Cartridge Faucets: These may have one or two handles and use a cartridge to control water flow. When fixing a leak, the cartridge might require substitution. Ball Faucets: With a single handle that moves over a rounded cap right above the spout, the ball faucet might need new O-rings or a replacement of the entire ball assembly. Disc Faucets: These feature a single lever over a wide cylindrical body and are known for their durability. However, sediment buildup might cause leaks, requiring cleaning or part replacement. Common Parts of a Faucet To get to the root of your leaky faucet, understanding the common parts that may be responsible is key. These parts include: Handles: They allow you to regulate both temperature and flow rate. Spout: The part from which water flows out into your sink or tub. Washers: Generally located within the handles, they can become worn and cause dripping. O-rings: These provide a water-tight seal but can deteriorate over time, leading to leaks. Valve Seats: A connection point within the faucet body, these can corrode and might require cleaning or replacement. Tools You’ll Need for Faucet Repair Having the right tools on hand is an essential step in tackling any plumbing task. To fix leaking faucets effectively, gather these tools before commencing: Tool Function Adjustable Wrench Useful for loosening and tightening nuts and fittings Philips & Flat-Head Screwdrivers Required for handling different screw types on the faucet Plumber’s Tape Used to secure a tight seal on threaded joints Replacement Parts (if necessary) Includes washers, O-rings, cartridges, or other specific parts depending on your faucet type Pliers For gripping and holding pipes or other small components With a clear grasp of your faucet’s design and the necessary toolkit, you are well-prepared to proceed with faucet troubleshooting and the steps required to fix your leaky faucet. The Common Causes of a Leaking Faucet Nothing is more aggravating than the constant drip-drip of a leaking faucet. Understanding the root causes of a faucet leak can save you from the frustration and the needless spike in your water bill. Let’s dive into what might be causing that pesky faucet leak and how you can take charge of the situation with faucet repair. Worn Out O-rings and Washers The O-ring is a small disc attached to the stem screw that holds your faucet handle in place. Over time, O-rings and washers can wear out or become loose, causing a noticeable leak near the handle. Conducting routine faucet maintenance is essential in catching these issues early on. Corroded Valve Seats Another common contributor to faucet leaks is the corrosion of valve seats, which are the connection points between the faucet and the spout. Water sediment can accumulate and corrode valve seats, leading to a dripping faucet spout. Regular cleaning can limit sediment buildup and prolong the life of your faucet’s components. Improper Installation of Faucet Components At times, leaks stem from improper installation of faucet parts. This can lead to misalignment and undue pressure on various components, which in turn causes leaks. Ensuring that each part is correctly installed is key to preventing future leaks and ensuring the longevity of your faucet. Cause of Leak Symptoms Potential Fixes Worn Out O-Rings/Washers Leakage from the handle Replace O-Rings/Washers Corroded Valve Seats Dripping from the spout Clean or Replace Valve Seats Improper Installation Varied Leaking Points Reinstall Correctly Armed with knowledge of these causes, you’re better prepared to tackle that faucet repair and say goodbye to that dripping faucet once and for all. Preparatory Steps Before Fixing Your Faucet Embarking on faucet troubleshooting and faucet maintenance is essential for addressing the pesky problem of a leaking faucet. But before you dive into the depths of your plumbing, it’s important to set the stage for a safe and successful repair job. Ensuring that you’re adequately prepared will streamline the process and prevent any unnecessary complications. Clean and Clear Work Area: Remove any items from under the sink and around the work area to give yourself ample space to operate. Gather Your Tools and Parts: Double-check that you have all the necessary tools and replacement parts you might need within reach. Shut Off the Water Supply: This is a critical safety measure that will help prevent water from gushing out once you

Read More

Kitchen Plumbing Essentials: Sink & Faucet Upgrade

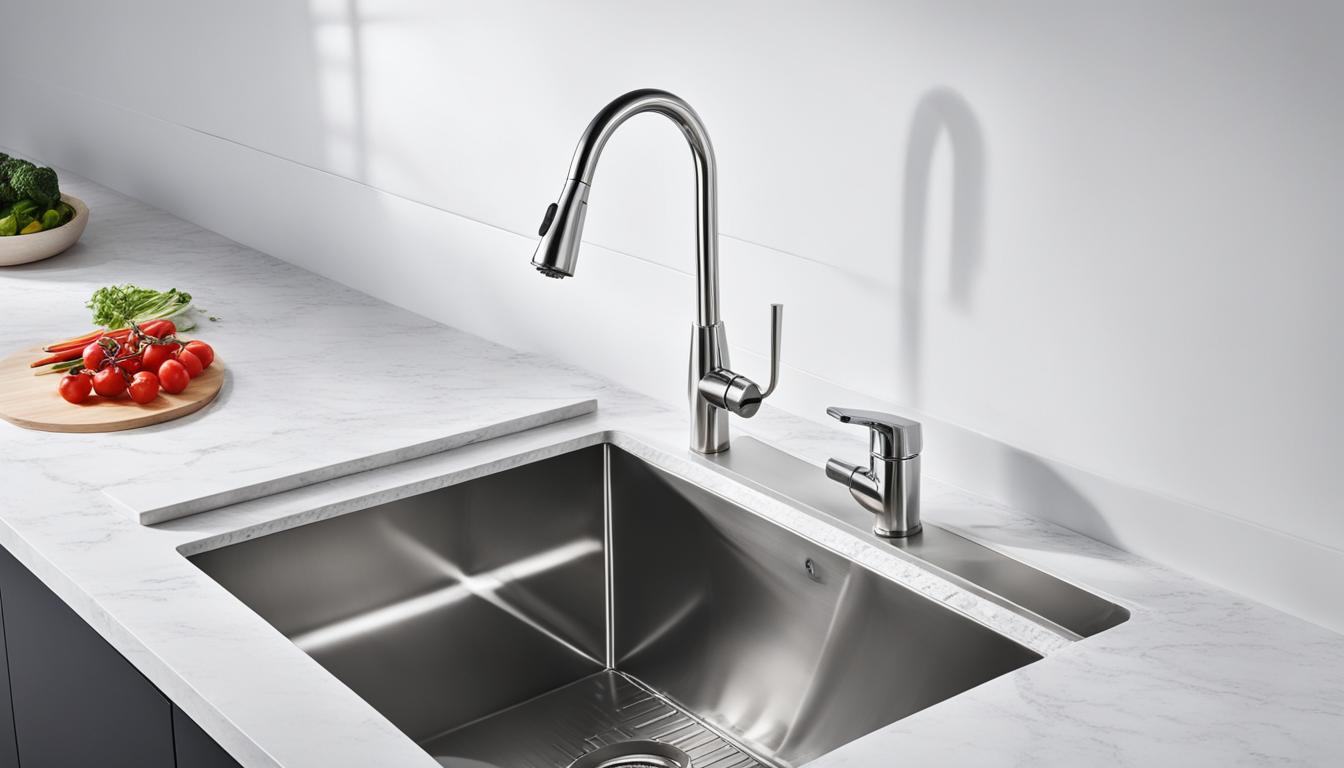
Kitchen Plumbing Essentials: Sink & Faucet Upgrade Sink upgrade and faucet upgrade elevate the functionality and style of your kitchen. A plumbing renovation may seem daunting at first, but with the right guidance, you can easily transform your kitchen space. In this section, we’ll provide you with essential tips and tricks to upgrade your kitchen sink and upgrade your kitchen faucet. Whether you’re remodeling your kitchen or just looking for a change, this guide is designed to help you every step of the way. Key Takeaways Upgrading your kitchen sink and faucet can transform your kitchen space both aesthetically and practically Proper planning is crucial for a successful plumbing renovation There are various sink materials and configurations to choose from to match your style and practical needs Upgrading your faucet goes beyond aesthetics and can improve the overall functionality of your kitchen Consider whether to handle the installation yourself or hire a professional Planning Your Sink and Faucet Upgrade Before upgrading your kitchen plumbing fixtures, it’s essential to plan out your project thoroughly. This not only saves you time and money but also ensures a beautiful and functional outcome. Choosing the Right Fixtures The first step is to select the type of sink and faucet that best suits your needs. Are you looking for a modern or traditional style? Do you want to maximize functionality or prioritize aesthetics? When selecting your fixtures, consider the materials, sizes, and configurations available. Stainless steel sinks remain a popular choice due to their durability and affordability. However, other materials, such as cast iron or quartz, can offer more design flexibility and may better match your kitchen’s style. Similarly, choosing a compatible faucet for your sink is crucial. Common types include pull-down, pull-out, and touchless faucets, each with their unique advantages to suit your cooking needs. Understanding Installation Requirements Once you have selected the right fixtures, it’s vital to understand the installation requirements. Although DIY installation is possible, it’s recommended to hire a professional plumber to ensure secure kitchen plumbing essentials with leak-free installation. When discussing your installation with a plumbing expert, make sure to consider the proper plumbing connections and drainage requirements to ensure seamless functionality. Ensuring Seamless Functionality To ensure a smooth and hassle-free experience, verify that your sink and faucet complement each other’s functions. For example, selecting a faucet with a high arc can cater to larger pots and pans, while a deeper sink can provide additional space for washing and soaking dishes. By planning out your kitchen plumbing upgrade with these considerations in mind, you can create a functional and stylish kitchen space that meets your specific needs. Selecting the Perfect Sink for Your Kitchen Upgrading your kitchen sink is a fantastic way to transform your cooking space. With a variety of materials, sizes, and configurations available, choosing the ideal sink that matches your style and meets your practical needs can be overwhelming. Upgrade your kitchen sink by considering these factors: Sink Materials The material you choose for your sink will impact its durability, maintenance, and style. Here are some popular options: Stainless Steel: Durable, easy to clean, and resistant to rust and stains Granite Composite: Durable and resistant to scratches and stains Fireclay: Traditional and elegant, but can be prone to cracking and chipping Cast Iron: Durable and classic, but requires regular maintenance Sizes and Configurations Choosing the size and configuration of your sink will depend on factors such as the size of your kitchen, the amount of space you have available, and your cooking and cleaning habits. Here are some common configurations to consider: Name Details Image Single-Bowl One large, deep basin   Double-Bowl Two equal-sized basins with a divider between them   Triple-Bowl Three basins with different sizes and configurations   Apron-Front A single-bowl sink with a front panel that extends below the counter   By considering these sink features and options, you can confidently select the perfect sink that elevates the style and functionality of your kitchen. Upgrading Your Faucet: Style and Functionality Upgrading your kitchen faucet can make a significant difference in both the overall style and functionality of your kitchen. With so many different faucet types, finishes, and features available, it can be overwhelming to choose the perfect one for your needs. But fear not, we’ve got you covered! Faucet Types There are several different types of faucets to choose from, including: Single-handle faucets Double-handle faucets Pull-down faucets Pull-out faucets Touchless faucets Each type has its unique features and benefits, so it’s essential to consider your kitchen’s needs and aesthetics when selecting a faucet. Faucet Finishes Once you’ve determined the type of faucet you want, the next step is to choose a finish that complements your kitchen’s overall look. Some popular finishes include: Chrome Stainless Steel Matte Black Oil-Rubbed Bronze Consider the color of your kitchen fixtures and appliances when selecting a finish to ensure it blends well with the overall look. Faucet Features Finally, when choosing your kitchen faucet, it’s essential to consider the available features. Some common features include: Adjustable water flow 360-degree swiveling spout Multiple spray patterns Hot and cold water dispensers Think about what features would be most functional for your cooking habits and frequency of use. An upgraded kitchen faucet can be a game-changer in your cooking experience. Take some time to explore the different types, finishes, and features available so that you can find the perfect faucet that complements your kitchen plumbing fixtures and upgrades your cooking space. kitchen plumbing Installation Process: DIY or Professional Help? When it comes to upgrading your kitchen plumbing fixtures, the installation is a crucial step. You might be wondering whether you should take on the challenge of a DIY installation or hire a professional plumber. Both options have their pros and cons, and it all comes down to your level of experience, budget, and available time. DIY Installation If you’re a handy person with some experience in plumbing, a DIY installation can be a viable option. It will save you money on

Read More

Leak Detection Economics: How It Saves You Money

Unclog Your Knowledge

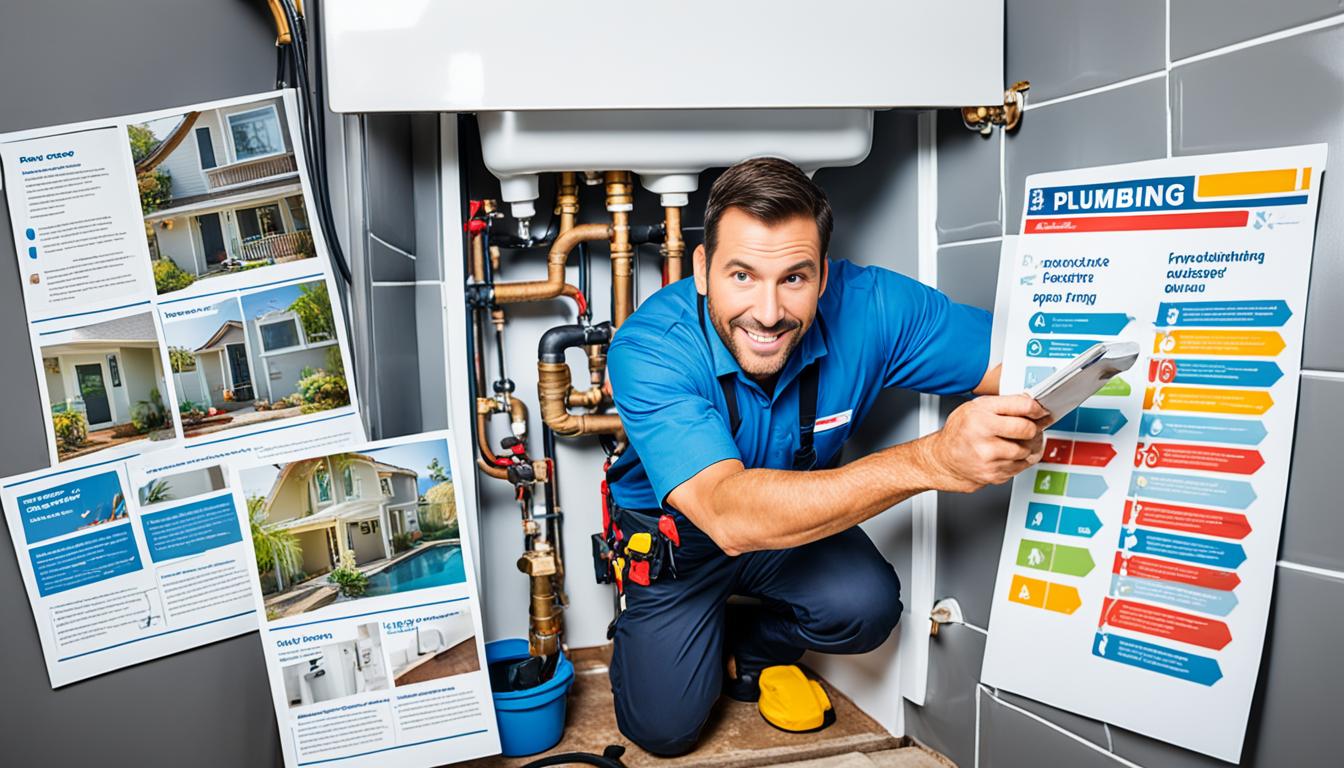
Plumbing problems? We’ve got you covered. Learn to fix leaky faucets, clogged drains, and more.

**Save time and money:** Our DIY guides empower you to tackle common plumbing issues yourself.

**Prevent future headaches:** Discover maintenance tips to keep your plumbing running smoothly.

  • DIY Fixes: Step-by-step guides for easy repairs.
  • Maintenance Tips: Prevent costly emergencies.
  • Troubleshooting Guides: Diagnose problems yourself.
  • Product Reviews: Make informed choices about upgrades.
  • System Understanding: Gain insights for better decisions.

**Empower yourself!** Bookmark this category for insightful articles that keep your water flowing.

**Top-Rated Plumbing & HVAC Services: Expert Care for Your Home**

Need reliable plumbing and HVAC services under one roof? We offer a comprehensive range of solutions to keep your home's water and climate systems functioning smoothly. Our experienced professionals can handle everything from emergency repairs and routine maintenance to installations and upgrades.

Recent Posts