If you’ve discovered a persistent drip that’s keeping you up at night, don’t worry. You’re about to learn how a DIY Faucet Repair can be simpler than you think. With a bit of time and the right guidance, you can stop a leaking faucet and take pride in your handiwork. Tackling basic faucet maintenance not only saves you money but also conserves water, making each drop count.
Ready to roll up your sleeves and get started? Take comfort in knowing that with a few straightforward steps, you’ll have that drip fixed in no time.
Embarking on a journey to fix a leaky faucet requires a fundamental understanding of its various components and how they function together. In this section, we’ll delve into the diversity of faucets you might find in your home and explore their anatomy. This knowledge is crucial for effective faucet troubleshooting and will empower you to fix leaking faucets with confidence.
Before you pick up a wrench, it’s imperative to identify what type of faucet you have. This dictates the steps you’ll take for diagnosis and repair. Common types include:
To get to the root of your leaky faucet, understanding the common parts that may be responsible is key. These parts include:
Having the right tools on hand is an essential step in tackling any plumbing task. To fix leaking faucets effectively, gather these tools before commencing:
| Tool | Function |
|---|---|
| Adjustable Wrench | Useful for loosening and tightening nuts and fittings |
| Philips & Flat-Head Screwdrivers | Required for handling different screw types on the faucet |
| Plumber’s Tape | Used to secure a tight seal on threaded joints |
| Replacement Parts (if necessary) | Includes washers, O-rings, cartridges, or other specific parts depending on your faucet type |
| Pliers | For gripping and holding pipes or other small components |
With a clear grasp of your faucet’s design and the necessary toolkit, you are well-prepared to proceed with faucet troubleshooting and the steps required to fix your leaky faucet.
Nothing is more aggravating than the constant drip-drip of a leaking faucet. Understanding the root causes of a faucet leak can save you from the frustration and the needless spike in your water bill. Let’s dive into what might be causing that pesky faucet leak and how you can take charge of the situation with faucet repair.
The O-ring is a small disc attached to the stem screw that holds your faucet handle in place. Over time, O-rings and washers can wear out or become loose, causing a noticeable leak near the handle. Conducting routine faucet maintenance is essential in catching these issues early on.
Another common contributor to faucet leaks is the corrosion of valve seats, which are the connection points between the faucet and the spout. Water sediment can accumulate and corrode valve seats, leading to a dripping faucet spout. Regular cleaning can limit sediment buildup and prolong the life of your faucet’s components.
At times, leaks stem from improper installation of faucet parts. This can lead to misalignment and undue pressure on various components, which in turn causes leaks. Ensuring that each part is correctly installed is key to preventing future leaks and ensuring the longevity of your faucet.
| Cause of Leak | Symptoms | Potential Fixes |
|---|---|---|
| Worn Out O-Rings/Washers | Leakage from the handle | Replace O-Rings/Washers |
| Corroded Valve Seats | Dripping from the spout | Clean or Replace Valve Seats |
| Improper Installation | Varied Leaking Points | Reinstall Correctly |
Armed with knowledge of these causes, you’re better prepared to tackle that faucet repair and say goodbye to that dripping faucet once and for all.
Embarking on faucet troubleshooting and faucet maintenance is essential for addressing the pesky problem of a leaking faucet. But before you dive into the depths of your plumbing, it’s important to set the stage for a safe and successful repair job. Ensuring that you’re adequately prepared will streamline the process and prevent any unnecessary complications.
Remember: preparation is key to avoiding additional issues and ensuring that your faucet maintenance goes smoothly.
| Step | Action | Reason |
|---|---|---|
| 1 | Clean Workspace | Prevents loss of small parts; enhances safety |
| 2 | Gather Tools/Parts | Ensures efficiency; no need to stop mid-repair |
| 3 | Water Supply Shutdown | Prevents water spillage and potential damage |
| 4 | Pressure Relief | Avoids water bursts; minimizes mess |
| 5 | Document Assembly | Provides visual aid for reassembly |
By following these preparatory steps, you’re not only safeguarding your home from potential water damage but also positioning yourself for a straightforward and effective faucet repair. And while an ounce of preparation is worth a pound of cure, always know when to call in the professionals should the task exceed your comfort zone.
Embarking on a DIY Faucet Repair journey to fix a leaking faucet may seem daunting, but with the right guidance, you’ll have a leak-free faucet in no time. Follow this meticulous guide, and soon you’ll proudly say goodbye to that annoying drip.
First things first: locate the valves under the sink and turn them clockwise to shut off the water supply. This is a critical step to prevent any accidental spills or water damage.
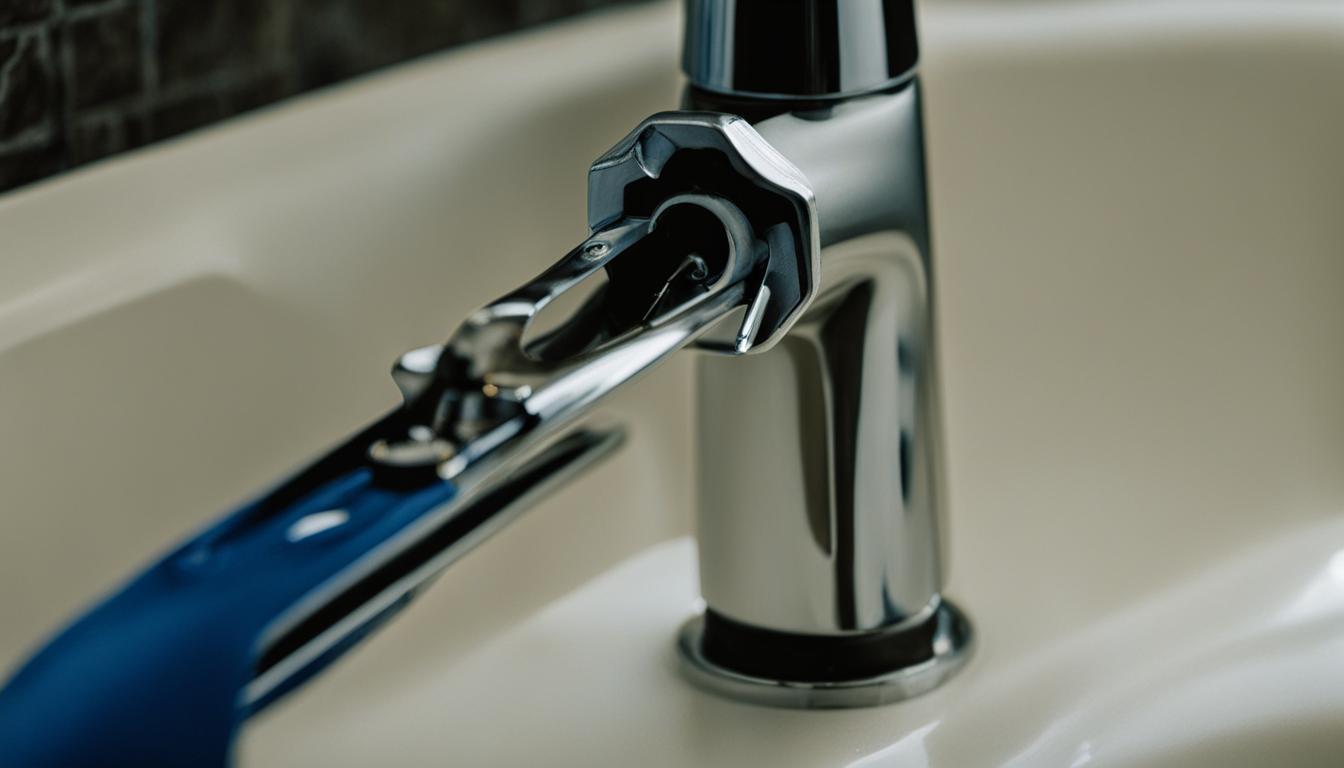
Next, you’ll need to gently remove the faucet handle. This typically involves loosening a screw that’s often hidden under a decorative cap. After removing the screw, lift or pull the handle off the assembly to access the inside components.
Once inside, inspect for any visible signs of wear or damage on parts such as O-rings and washers—these are usually the culprits behind a leaky faucet. If they look worn, head to your hardware store for replacements.
| Part | Signs of Wear | Action |
|---|---|---|
| O-Rings | Stretching, flattening, or tearing | Replace with the same size |
| Washers | Hardening, cracking, or worn edges | Find appropriate replacement |
| Valve Seat | Corrosion or mineral deposits | Clean or replace if necessary |
After replacing the necessary parts, it’s time to put everything back together. Carefully reassemble the faucet handle and ensure that every part is secure. Turn the water supply back on and check your handiwork for any further faucet leaks.
With patience and attention to detail, your fix leaking faucet task is complete. Enjoy the satisfaction of a job well done and the silence of a leak-free sink.
After diligently handling a Faucet Repair, it’s crucial to ensure that your efforts to Stop Leaking Faucet have been successful. Proper post-repair testing is not only about guaranteeing a job well done but also about saving water and avoiding further damage. Here’s how to run a watertight ship on your freshly repaired fixture.
To check if your Dripping Faucet days are behind you, follow these essential steps:
If all seems dry and secure, congratulate yourself! If not, you may need to repeat some steps of the repair process or consider the following:
Sometimes, despite your best efforts, the faucet may still be a culprit of wasteful drips. At this juncture, don’t be disheartened; even the most seasoned DIY enthusiasts can encounter stubborn leaks. Here’s a quick self-assessment to decide if it’s time to call in the pros:
| DIY Check | Professional Help |
|---|---|
| Re-checking the tightness of connections | If leaks persist despite multiple tries |
| Examining if the correct parts were used | Unsure about the compatibility of parts |
| Ensuring installation was done accurately | Complex faucet models beyond basic repair |
| Verifying washer and O-ring conditions | Significant wear or damage undetected initially |
| Looking for possible overlooked damage | Visible signs of corrosion or hard-to-fix issues |
Remember, there’s no shame in seeking a helping hand from a professional plumber. Ensuring that your Faucet Repair is effectively handled means you can confidently Stop Leaking Faucet worries, guaranteeing peace of mind and a dry sink!
Having successfully navigated the intricacies of faucet maintenance, you’re likely feeling empowered in your ability to fix leaking faucets. But your journey doesn’t end with the last turn of the wrench. A forward-thinking approach involves establishing a routine to prevent future plumbing woes. Adopting a proactive stance not only maintains the smooth operation of your faucets but saves you from potential headaches and unexpected expenses down the line.
Regular cleaning is not just about aesthetic appeal—it’s a practical facet of faucet troubleshooting. Minerals and debris can build up over time, causing blockages and contributing to wear and tear. By making a habit of cleaning your faucet’s aerator and surface, you keep the water flow unimpeded and components less prone to damage. Pair this with periodic inspections for signs of corrosion or wear, and you’ll nip potential problems in the bud.
Part of vigilant faucet maintenance involves the timely replacement of vulnerable parts such as washers, O-rings, and seals. These components bear the brunt of constant use, and even the smallest degradation can lead to leakage. By keeping spares on hand and replacing them at the first sign of wear, you ensure a tight seal and maintain the operational integrity of your faucets. Remember, a stitch in time saves nine—regular monitoring and maintenance not just fix, but decisively prevent faucet leaks, safeguarding your home from unnecessary water loss and maintaining peace of mind.
A: Absolutely! With the right tools and a bit of know-how, DIY faucet repair is a manageable project that can save you money and help prevent water waste.
A: Faucets typically come in four main types: compression, cartridge, ball, and disc. You can usually identify your faucet type by its handle(s) and the mechanism it uses to control water flow.
A: Common faucet parts include the handle, spout, washers, O-rings, and sometimes valves or cartridges that may wear out over time and require replacement.
A: A basic toolkit for faucet repair might include wrenches, screwdrivers, pliers, and replacement parts like washers or O-rings specific to your faucet’s model.
A: Leaks can be caused by worn-out O-rings and washers, corroded valve seats, or improper installation of faucet components. Each issue can be diagnosed and remedied with proper troubleshooting.
A: Begin by cleaning your work area, gathering all necessary tools and replacement parts, and turning off the water supply to prevent accidents and make the repair process easier.
A: Start by shutting off the water supply. Proceed to disassemble the faucet handle, inspect and replace any damaged parts, and then reassemble your faucet carefully to ensure a tight fit and no further leaks.
A: After repairing your faucet, turn the water supply back on and monitor the repaired areas for any signs of leaking. If you notice any dripping or leaking, you may need to re-check your work or replace additional components.
A: If you’re uncomfortable with the repair process or if the leak persists after you’ve made DIY repairs, it might be time to seek professional help to ensure the problem is resolved effectively.
A: Regular faucet maintenance, including cleaning and timely replacement of worn components, can help extend the life of your faucet and prevent future leaks. Keeping an eye on your faucet’s performance and addressing issues early can save time and money.