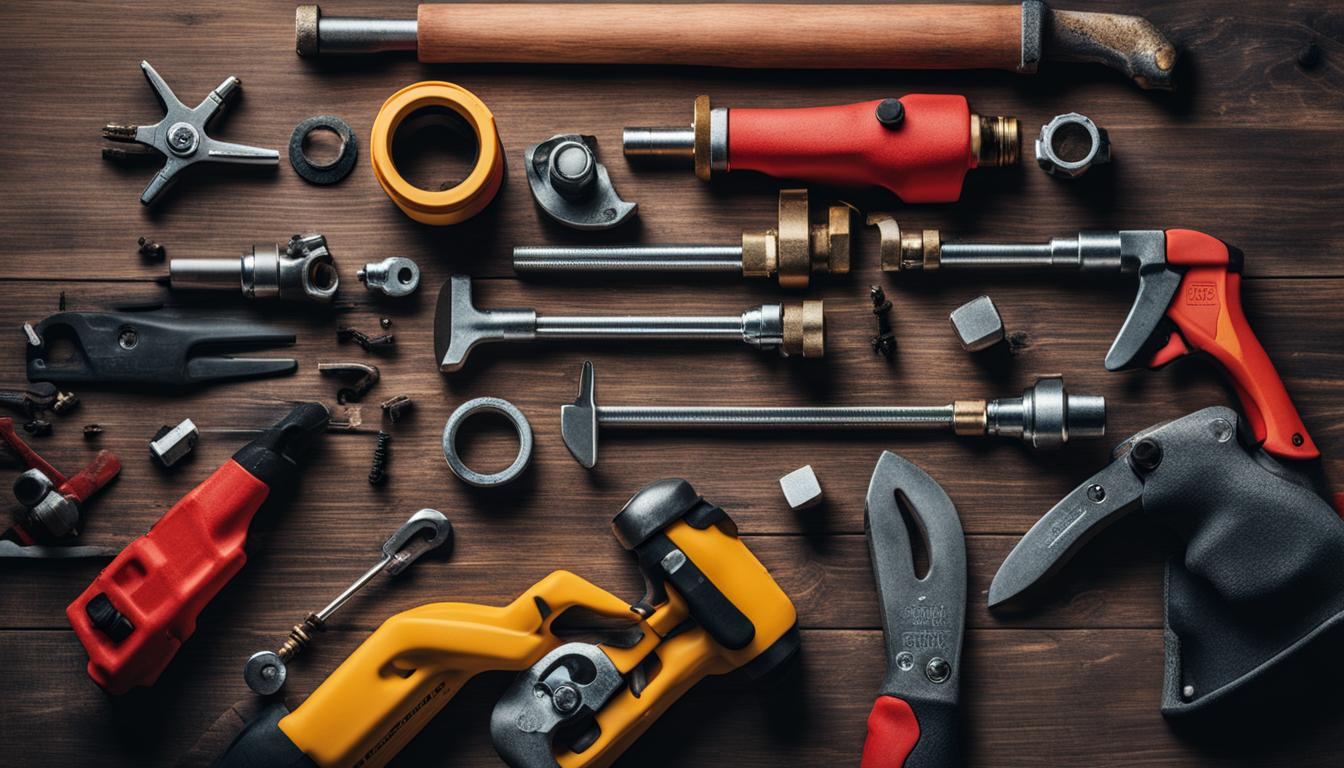
DIY Plumbing: What You Can Handle By Yourself Plumbing issues can be a hassle, but you don’t always need to call a plumber. From leaky faucets and clogged drains to installing a new toilet, there are several basic plumbing projects and plumbing repairs that you can tackle by yourself. With the right tools, knowledge, and […]
Read More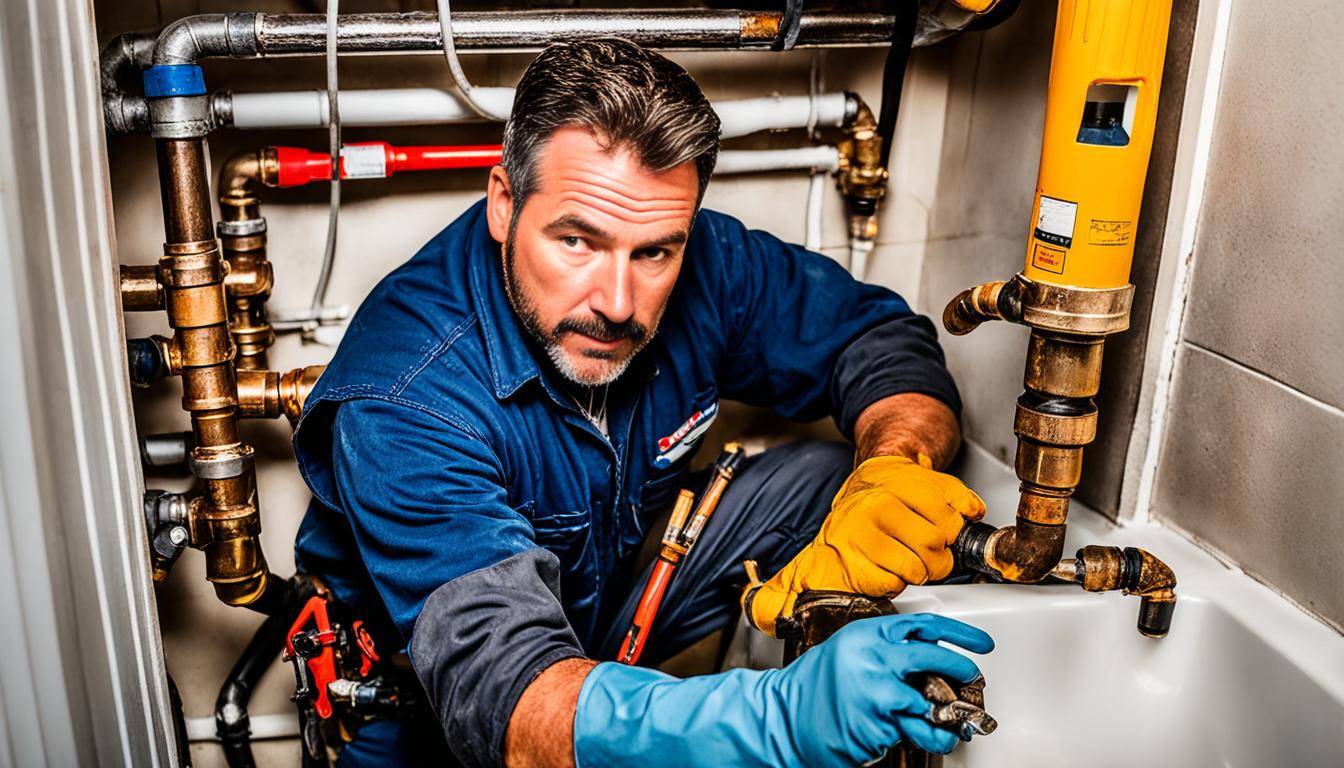
Expert Leaking Pipes Repair Solutions When you’re confronted with the unexpected drip…drip…drip of a leaking pipe, it’s more than just an annoyance—it’s a call to action for safeguarding your home. The good news? You’re not alone in this. Professional plumbers are your go-to troubleshooters, equipped with the know-how to nip your plumbing woes in the […]
Read More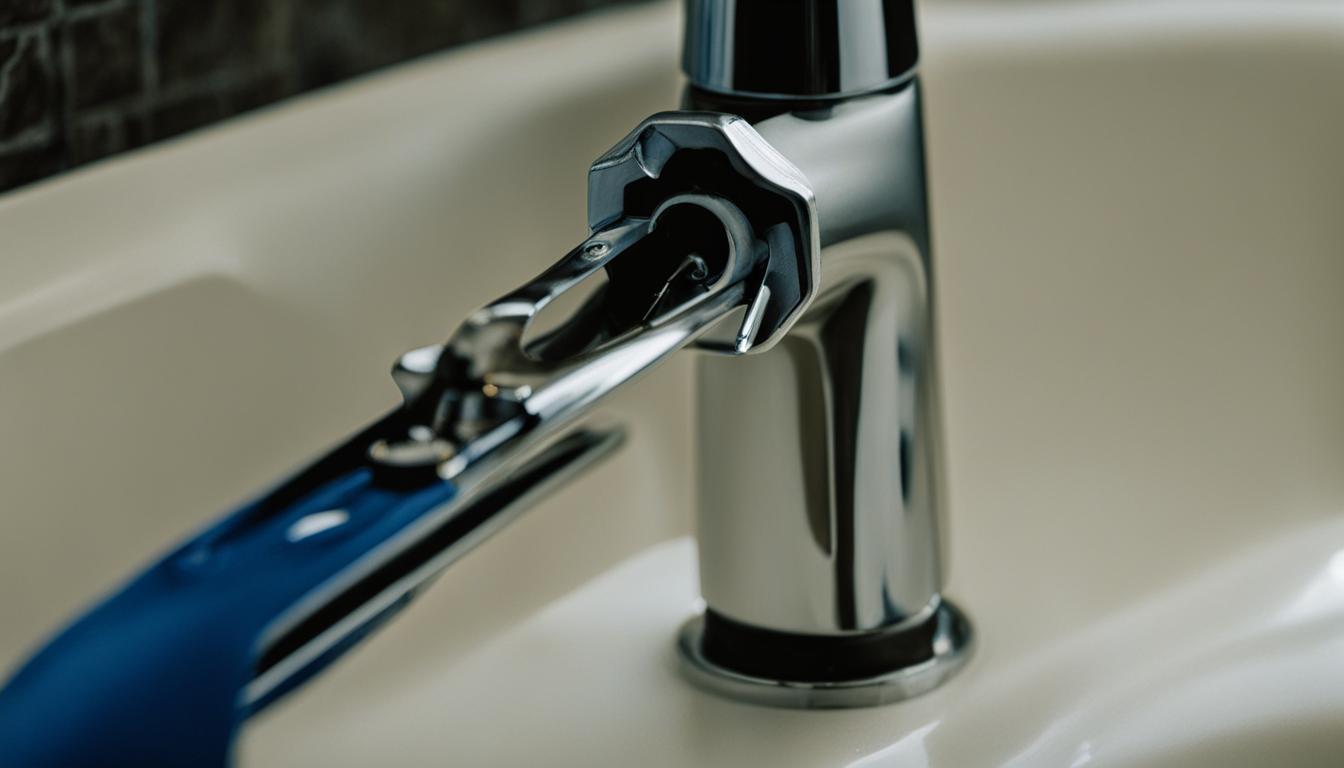
Fix Your Leaking Faucet Quickly & Easily If you’ve discovered a persistent drip that’s keeping you up at night, don’t worry. You’re about to learn how a DIY Faucet Repair can be simpler than you think. With a bit of time and the right guidance, you can stop a leaking faucet and take pride in […]
Read More
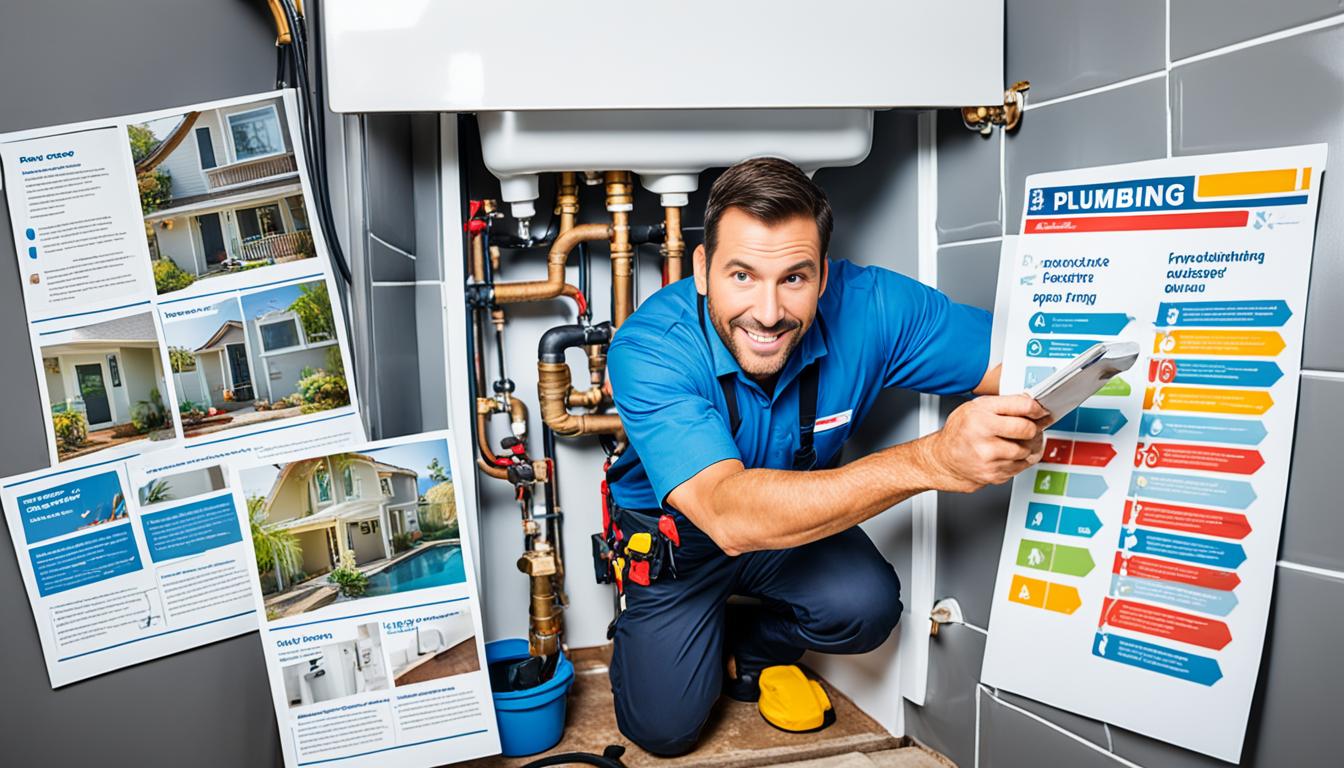
Our “Plumbing Basics and Maintenance” category equips you with the knowledge and skills to handle everyday plumbing challenges.
**In this category, you’ll discover:**
**Empower yourself with plumbing knowledge!** Bookmark this category and explore insightful articles that keep your water flowing and your wallet happy.