Expert Home Services LLC
377 Valley Rd, Clifton, NJ
Available 24/7 to take your orders!
Follow us:
Page Title BG
Category: Plumbing Basics and Maintenance

Kitchen Plumbing Essentials: Sink & Faucet Upgrade

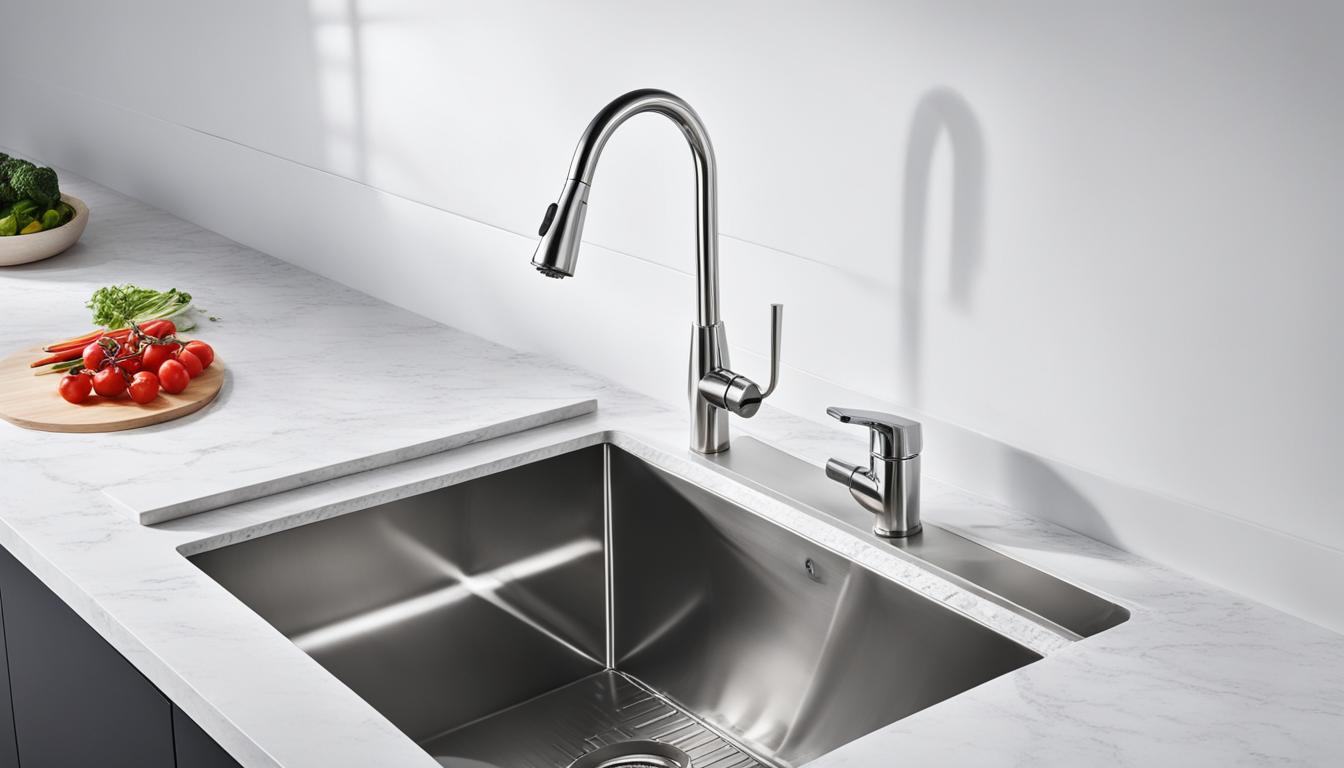
Kitchen Plumbing Essentials: Sink & Faucet Upgrade Sink upgrade and faucet upgrade elevate the functionality and style of your kitchen. A plumbing renovation may seem daunting at first, but with the right guidance, you can easily transform your kitchen space. In this section, we’ll provide you with essential tips and tricks to upgrade your kitchen sink and upgrade your kitchen faucet. Whether you’re remodeling your kitchen or just looking for a change, this guide is designed to help you every step of the way. Key Takeaways Upgrading your kitchen sink and faucet can transform your kitchen space both aesthetically and practically Proper planning is crucial for a successful plumbing renovation There are various sink materials and configurations to choose from to match your style and practical needs Upgrading your faucet goes beyond aesthetics and can improve the overall functionality of your kitchen Consider whether to handle the installation yourself or hire a professional Planning Your Sink and Faucet Upgrade Before upgrading your kitchen plumbing fixtures, it’s essential to plan out your project thoroughly. This not only saves you time and money but also ensures a beautiful and functional outcome. Choosing the Right Fixtures The first step is to select the type of sink and faucet that best suits your needs. Are you looking for a modern or traditional style? Do you want to maximize functionality or prioritize aesthetics? When selecting your fixtures, consider the materials, sizes, and configurations available. Stainless steel sinks remain a popular choice due to their durability and affordability. However, other materials, such as cast iron or quartz, can offer more design flexibility and may better match your kitchen’s style. Similarly, choosing a compatible faucet for your sink is crucial. Common types include pull-down, pull-out, and touchless faucets, each with their unique advantages to suit your cooking needs. Understanding Installation Requirements Once you have selected the right fixtures, it’s vital to understand the installation requirements. Although DIY installation is possible, it’s recommended to hire a professional plumber to ensure secure kitchen plumbing essentials with leak-free installation. When discussing your installation with a plumbing expert, make sure to consider the proper plumbing connections and drainage requirements to ensure seamless functionality. Ensuring Seamless Functionality To ensure a smooth and hassle-free experience, verify that your sink and faucet complement each other’s functions. For example, selecting a faucet with a high arc can cater to larger pots and pans, while a deeper sink can provide additional space for washing and soaking dishes. By planning out your kitchen plumbing upgrade with these considerations in mind, you can create a functional and stylish kitchen space that meets your specific needs. Selecting the Perfect Sink for Your Kitchen Upgrading your kitchen sink is a fantastic way to transform your cooking space. With a variety of materials, sizes, and configurations available, choosing the ideal sink that matches your style and meets your practical needs can be overwhelming. Upgrade your kitchen sink by considering these factors: Sink Materials The material you choose for your sink will impact its durability, maintenance, and style. Here are some popular options: Stainless Steel: Durable, easy to clean, and resistant to rust and stains Granite Composite: Durable and resistant to scratches and stains Fireclay: Traditional and elegant, but can be prone to cracking and chipping Cast Iron: Durable and classic, but requires regular maintenance Sizes and Configurations Choosing the size and configuration of your sink will depend on factors such as the size of your kitchen, the amount of space you have available, and your cooking and cleaning habits. Here are some common configurations to consider: Name Details Image Single-Bowl One large, deep basin   Double-Bowl Two equal-sized basins with a divider between them   Triple-Bowl Three basins with different sizes and configurations   Apron-Front A single-bowl sink with a front panel that extends below the counter   By considering these sink features and options, you can confidently select the perfect sink that elevates the style and functionality of your kitchen. Upgrading Your Faucet: Style and Functionality Upgrading your kitchen faucet can make a significant difference in both the overall style and functionality of your kitchen. With so many different faucet types, finishes, and features available, it can be overwhelming to choose the perfect one for your needs. But fear not, we’ve got you covered! Faucet Types There are several different types of faucets to choose from, including: Single-handle faucets Double-handle faucets Pull-down faucets Pull-out faucets Touchless faucets Each type has its unique features and benefits, so it’s essential to consider your kitchen’s needs and aesthetics when selecting a faucet. Faucet Finishes Once you’ve determined the type of faucet you want, the next step is to choose a finish that complements your kitchen’s overall look. Some popular finishes include: Chrome Stainless Steel Matte Black Oil-Rubbed Bronze Consider the color of your kitchen fixtures and appliances when selecting a finish to ensure it blends well with the overall look. Faucet Features Finally, when choosing your kitchen faucet, it’s essential to consider the available features. Some common features include: Adjustable water flow 360-degree swiveling spout Multiple spray patterns Hot and cold water dispensers Think about what features would be most functional for your cooking habits and frequency of use. An upgraded kitchen faucet can be a game-changer in your cooking experience. Take some time to explore the different types, finishes, and features available so that you can find the perfect faucet that complements your kitchen plumbing fixtures and upgrades your cooking space. kitchen plumbing Installation Process: DIY or Professional Help? When it comes to upgrading your kitchen plumbing fixtures, the installation is a crucial step. You might be wondering whether you should take on the challenge of a DIY installation or hire a professional plumber. Both options have their pros and cons, and it all comes down to your level of experience, budget, and available time. DIY Installation If you’re a handy person with some experience in plumbing, a DIY installation can be a viable option. It will save you money on

Read More

Hot Water Heater Troubleshooting Guide & Fixes

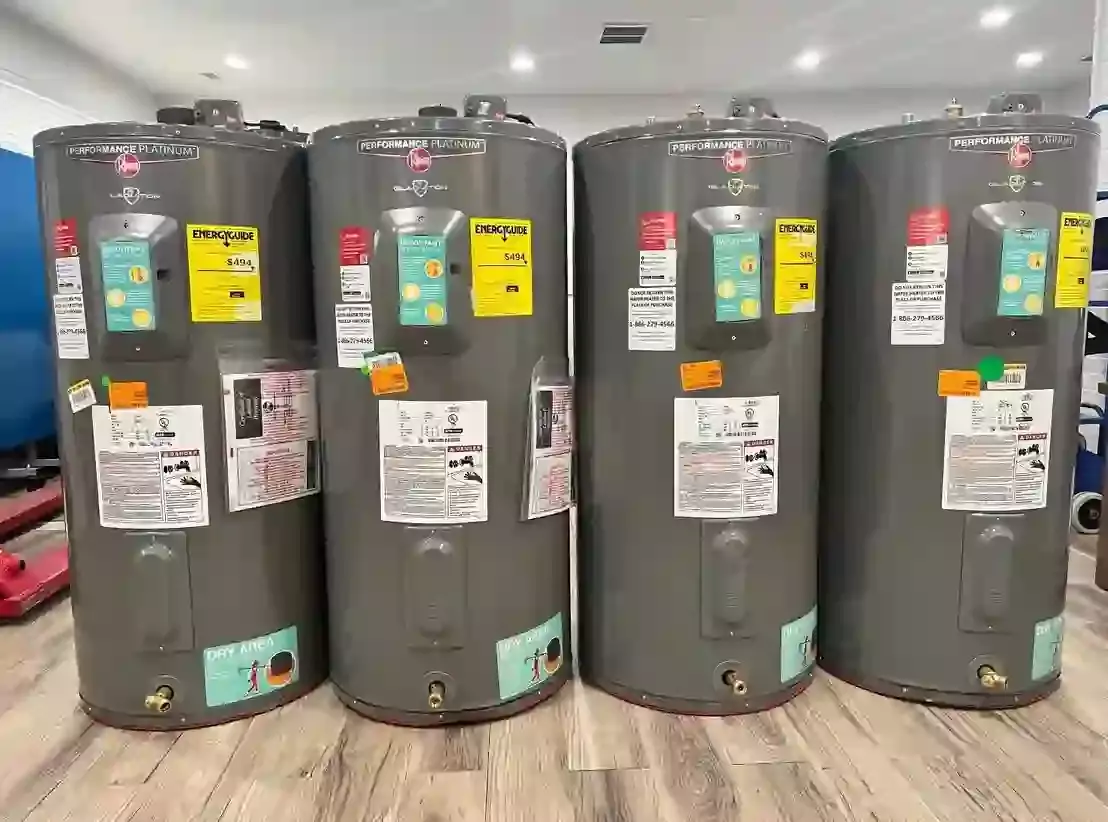
Hot Water Heater Troubleshooting Guide & Fixes If you are experiencing issues with your water heater, don’t worry. You’re not alone. Many people face common problems with their water heaters, but luckily, most of these problems are easy to solve without the need for a repairman. This guide will provide you with troubleshooting advice and tips for the most common issues with water heaters. Whether you’re dealing with a lack of hot water, strange noises, a pilot light that won’t light, or anything else, we’ve got you covered. Key Takeaways: Common issues with water heaters are typically easy to fix. Regular water heater maintenance can help avoid future problems. Troubleshooting steps for electric and gas water heaters may differ. Don’t hesitate to seek professional help if you’re not comfortable with DIY fixes. By following our water heater troubleshooting guide, you can save on repair costs and ensure a steady supply of hot water. Hot Water Heater Not Working? Try these Troubleshooting Steps for water heater troubleshooting: Nothing is worse than waking up to no hot water. Before calling a professional, try troubleshooting the issue yourself. By following these steps, you can save time and potentially avoid unnecessary repairs with common problems with water heaters. Step 1: Check the Power Source If you have an electric water heater, check the circuit breaker to ensure it hasn’t tripped. If it has, flip it back on. For gas heaters, make sure the pilot light is lit. Step 2: Inspect the Thermostat Check the thermostat settings to ensure they are correct. If the temperature is set too low, the heater won’t work properly. If it’s set too high, it can be dangerous and cause scalding. Set it to the manufacturer’s recommended setting. Step 3: Test the Heating Elements If you have an electric water heater, check the heating elements. Use a multimeter to test them and replace any faulty ones. Step 4: Flush the Tank Sediment and minerals can build up in the tank, causing it to work inefficiently. Drain the tank and flush it to remove any debris. By following these steps, you may be able to identify and resolve the issue with your water heater. However, if you are still experiencing problems, it may be time to call in a professional for repairs or replacement. Common Problems with Hot Water Heaters and How to Fix Them Is your water heater giving you trouble? Don’t worry! We’re here to help you identify and fix the most common issues you may encounter. Below, we’ve listed some frequent water heater problems and water heater fixes tips to fix them. Hot Water Heater Problem Troubleshooting Tips How to Fix Pilot Light Not Lighting Make sure gas and propane valves are open. Turn them on. If the pilot flame is not lit, relight it using the manufacturer’s instructions. If the flame is lit but goes out, it could be a faulty thermocouple that needs to be replaced. Water Not Getting Hot Enough Check the thermostat and adjust accordingly. If the thermostat is not working, it may need to be replaced. If the water temperature seems fine, but the water output is low, it could be due to sediment buildup in the tank. Flushing the tank may solve this problem. Strange Noises Coming from the Heater Drain the tank and flush out sediment buildup. If flushing the tank doesn’t solve the problem, it could be due to a faulty heating element that needs to be replaced. By following these water heater troubleshooting tips, you can fix many of the problems you may encounter on your own without professional help. However, some issues may require the assistance of a professional, especially if you are not comfortable working with gas or electricity. Remember, regular maintenance can prevent many of these problems from occurring in the first place. Refer to our Hot Water Heater Maintenance Tips section to learn more. Hot Water Heater Maintenance water heater troubleshooting tips hot water heater troubleshooting guide: Regular maintenance is vital to keep your water heater running smoothly and efficiently. By following these essential maintenance tips, you can extend the lifespan of your heater and prevent future problems while saving on energy costs. Clean the Tank Over time, sediment can build up at the bottom of the tank, reducing efficiency and even obstructing the flow of water. Draining and flushing the tank annually can help remove the built-up sediment, keeping your water heater functioning optimally. Check the Pressure Valve The pressure valve on your water heater helps regulate temperature and pressure and serves as a safety measure to prevent the tank from bursting. Regularly checking and testing this valve can ensure it’s functioning correctly and protect against potential hazards. To test the valve, turn off the power or gas to the heater and lift the lever on the valve; if water flows out, your valve is working fine. Inspect the Anode Rod The anode rod within the tank helps prevent corrosion and extends the lifespan of your hot water heater. However, over time, this rod can deteriorate and require replacement. A visual inspection should be done yearly to check the condition of the anode rod. If the rod is coated in calcium or noticeably worn, it’s time for a replacement. Lower the Temperature Lowering the temperature of your water heater can help conserve energy and prevent overheating. The recommended temperature for most households is 120 degrees Fahrenheit, so be sure to adjust your heater accordingly. Professional Check-Ups While DIY maintenance can help prevent future problems, it’s a good idea to have a professional inspect your water heater periodically. A licensed technician can catch minor issues before they become major problems and address any concerns you may have about your water heater’s performance. By following these water heater maintenance tips, you’ll enjoy optimal performance and peace of mind, knowing your water heater is working efficiently and safely. Troubleshooting Guide for Electric Hot Water Heaters If you are experiencing problems with your electric water heater, don’t fret; we have got you

Read More

Winter Plumbing Wisdom: How to Safely Drain Pipes

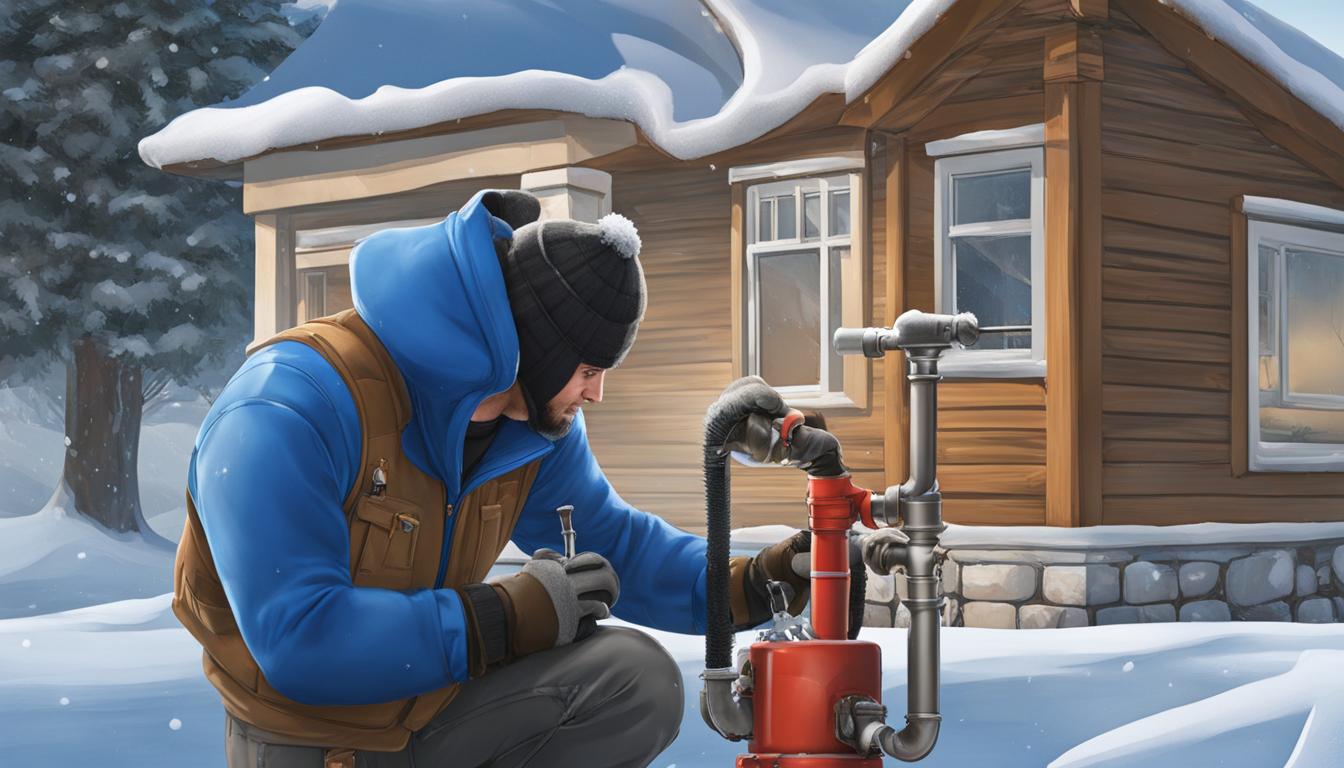
Winter Plumbing Wisdom: How to Safely Drain Pipes Winter can be tough on your plumbing system, and if you’re not careful, it could lead to frozen and damaged pipes. That’s why it’s essential to practice proper winter pipe maintenance, including safe drainage tips, to prevent potential plumbing disasters. In this section, we’ll provide you with essential winter plumbing tips on how to safely drain your pipes. By following these steps and implementing proper pipe protection measures, you can maintain a well-functioning plumbing system throughout the cold season and avoid costly plumbing repairs. Key Takeaways: Proper winter pipe maintenance is crucial for preventing frozen and damaged pipes. Safe drainage tips can help you avoid costly plumbing repairs during the winter season. Regular pipe protection measures can maintain the longevity and efficiency of your plumbing system. Following the steps to safely drain your pipes is an essential part of winter plumbing care. Implementing the advised winter plumbing tips can give you peace of mind and ensure a hassle-free winter season. Understanding the Importance of Draining Pipes in Winter  protecting pipes in cold weather: Draining pipes in winter is essential to prevent frozen pipes from causing costly damage. When water freezes in pipes, it expands, potentially causing pipes to burst and resulting in water damage to your home. To prevent this from happening, it is crucial to take the necessary precautions and follow winter plumbing advice, such as draining pipes before the cold weather sets in. By doing so, you can ensure your plumbing system remains protected and functional throughout the winter months. Winter plumbing advice also includes keeping your home warm and ensuring proper insulation of pipes. This can prevent heat loss, reducing the likelihood of frozen pipes. Even in unoccupied areas such as basements, garages, or attics, be sure to leave the heat on to maintain a consistent temperature and minimize freezing risks. Regular winter pipe maintenance is the key to preventing frozen pipes and ensuring a reliable plumbing system. This involves taking the necessary steps to protect pipes in cold weather and taking action immediately if any signs of trouble arise. By understanding the importance of draining pipes in winter, you can keep your plumbing system running smoothly and avoid costly repairs. Winter Plumbing Wisdom: How to Safely Drain Pipes to Drain Your Pipes Follow these easy steps to safely drain your pipes: Turn off the main water valve: Before you begin, turn off the main water valve to avoid any water flow while draining your pipes. This will ensure that no water flows back into the pipes as you work on draining them. Locate the highest faucet: Find the highest faucet in your home, usually on the second floor or in the attic. This is where you will start draining the pipes. Open all faucets: Open all the faucets in your home, both hot and cold to ensure that all the water is drained from the pipes. Drain the water heater: If you have a water heater, turn it off and drain all the water from it. Remove water from toilet tanks: Drain your toilet tanks to avoid any water freezing and potentially damaging the system. Use an air compressor: Use an air compressor to blow air through your water pipes to remove any remaining water. If you don’t have an air compressor, a wet/dry vac also works. Antifreeze: Add antifreeze to all plumbing fixtures and drain traps to prevent freezing during the winter season. Following these steps can help protect your plumbing system from freezing and potential damage. Additionally, implementing proper winter pipe care can help ensure your pipes are properly protected during the colder months. Additional Winter Plumbing Maintenance Tips As temperatures drop and the winter season kicks in, protecting your pipes from freezing should be a top priority. In addition to our safe drainage tips, here are a few extra winter plumbing tips to help you maintain a healthy plumbing system: Keep Your Home Warm: Heat your home to at least 55°F, even when you’re away. This will help prevent pipes from freezing and bursting. Insulate Pipes: Insulate exposed pipes to help protect them from the cold. This will help prevent them from freezing and potentially bursting. Allow Faucet to Drip: When temperatures drop, letting your faucet drip can help prevent your pipes from freezing. Moving water is less likely to freeze. Clean Gutters: Clear your gutters of leaves and debris to prevent water from backing up and freezing in the gutters and downspouts. Incorporating these winter plumbing maintenance tips into your routine will help you keep your pipes in good shape and prevent costly damage to your plumbing system. Don’t forget to practice safe drainage tips and winter pipe maintenance to ensure a worry-free winter season! Conclusion Now that you have learned how to safely drain your pipes during the winter season, you can enjoy a worry-free winter without any plumbing disasters. Remember to regularly practice winter pipe maintenance and take the necessary precautions to protect your plumbing system from freezing damage. By following our winter plumbing tips and implementing the advised safe drainage tips, you can ensure the longevity and efficiency of your pipes. Don’t let the cold weather get the best of your plumbing system. Take charge and protect your home with the knowledge and tools you gathered from this article. We hope that you found this article informative and helpful. With these tips, you can enjoy a warm and comfortable winter season without any plumbing mishaps. Stay safe and take care of your pipes! FAQ Q: Why is it important to drain pipes in winter? A: Draining pipes in winter is crucial for preventing frozen pipes. When water freezes inside the pipes, it expands and can cause them to burst, leading to costly damage and repairs. Q: How do I safely drain my pipes in winter? A: To safely drain your pipes in winter, start by turning off the main water supply. Open all faucets and valves to allow the water

Read More

To Repipe or Not to Repipe: Weighing the Pros and Cons

Conquer Common Plumbing Basics and Maintenance Woes!

Our “Plumbing Basics and Maintenance” category equips you with the knowledge and skills to handle everyday plumbing challenges.

**In this category, you’ll discover:**

  • Essential Plumbing Components: Understand your system’s functionality.
  • DIY Fixes for Common Problems: Tackle leaky faucets, clogged drains, and running toilets yourself.
  • Preventative Maintenance Tips: Keep your plumbing running smoothly and avoid costly repairs.
  • Troubleshooting Techniques: Diagnose common issues and determine if DIY is possible.
  • Essential Plumbing Tools: Explore the necessary tools for basic maintenance and repairs.

**Empower yourself with plumbing knowledge!** Bookmark this category and explore insightful articles that keep your water flowing and your wallet happy.

**Top-Rated Plumbing & HVAC Services: Expert Care for Your Home**

Need reliable plumbing and HVAC services under one roof? We offer a comprehensive range of solutions to keep your home's water and climate systems functioning smoothly. Our experienced professionals can handle everything from emergency repairs and routine maintenance to installations and upgrades.

Recent Posts