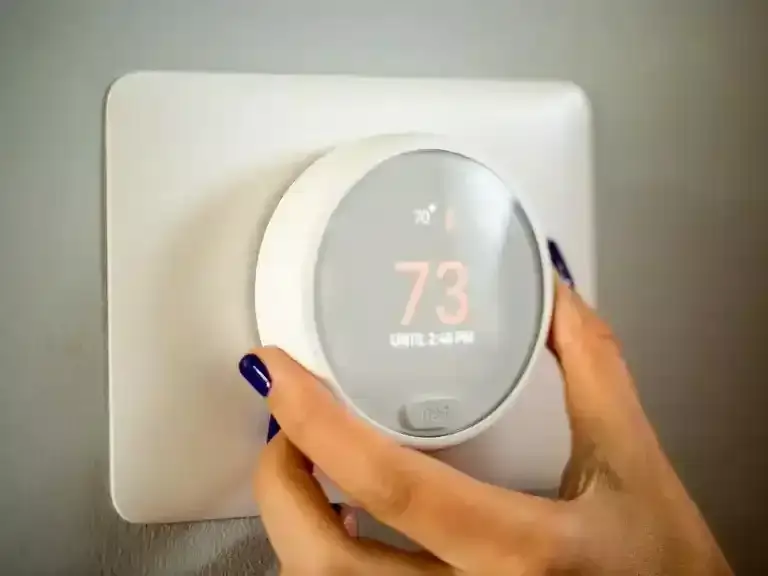
Time Change Reminder: Adjust Your Thermostat With the upcoming time change, it’s important to remember to adjust your thermostat accordingly. This simple step can help you save energy and avoid discomfort in your home. Don’t forget that as the time changes, so should your thermostat settings. Failing to make this adjustment can result in your home being too warm or too cool, leading to unnecessary energy usage and higher bills. Fortunately, adjusting your thermostat is quick and easy. By following a few simple tips, you can prepare your thermostat for the time change and ensure your home remains comfortable and energy-efficient. Key Takeaways: Remember to adjust your thermostat for the upcoming time change. Failing to adjust your thermostat can result in unnecessary energy usage and discomfort in your home. Adjusting your thermostat is quick and easy, and can help you save on energy bills. Following a few simple tips can help you prepare your thermostat for the time change. Proper thermostat adjustment is crucial for maintaining energy efficiency and a comfortable living environment. Don’t Forget to Adjust Your Thermostat for Daylight Saving Time As daylight saving time approaches, it’s essential to keep in mind that adjusting your thermostat is necessary. Not only will this help you save money on your energy bill, but it will also keep you comfortable during the time change. When you set your thermostat back an hour, your home may become colder or warmer than usual, depending on the season. For instance, if you’re changing the time in the fall, your home will become colder an hour earlier than it used to. To avoid discomfort, adjust your thermostat accordingly. There’s no need to manually adjust your thermostat every time you need to change the time for daylight saving. Instead, you can set your thermostat once, and it will automatically change with time. Pro Tip: Consider investing in a smart thermostat that automatically adjusts the temperature based on your preferences and the time of day, so you don’t have to worry about making changes manually. Benefits of Thermostat Adjustment during Time Change Adjusting your thermostat during daylight saving time provides myriad benefits. Firstly, it reduces energy waste, saving you money on your energy bill. Secondly, it maintains a comfortable indoor environment, so you don’t feel too cold or too hot during the time change. Overall, making small adjustments to your thermostat can make a significant difference in your energy usage and comfort level. Best Practices for Thermostat Adjustment During Time Change Here are some best practices to help you prepare your thermostat for the time change: Set your thermostat an hour earlier or later, depending on the season and the direction of the time change. Consider investing in a smart thermostat that adjusts the temperature automatically. Remember to change the thermostat batteries if they are low. Take advantage of the natural light to warm up your home by opening your curtains during the day. By following these best practices, you can ensure that your thermostat is set correctly and ready for the time change, reducing energy waste and maximizing your comfort. Tips for Setting Your Thermostat for Time Change Preparing your thermostat for the time change is essential to ensure that your home remains comfortable and energy efficient. Here are some helpful tips for setting your thermostat: Adjust your thermostat in small increments: Instead of making significant temperature changes all at once, adjust your thermostat by a few degrees at a time. This will help your HVAC system gradually adapt to the new temperature and prevent energy waste. Use a programmable thermostat: A programmable thermostat can help simplify the process of adjusting your thermostat for the time change. Set the thermostat to adjust to the new temperature automatically, so you don’t have to worry about making changes manually. Consider the time of day: If you’re adjusting your thermostat, consider the time of day. For example, if you’re warming your home, set the temperature higher during the day when you’re awake and lower at night when you’re asleep. Invest in a smart thermostat: A smart thermostat can help adjust your home’s temperature based on your lifestyle. It can detect when you’re away from home adjust the temperature to save energy, and automatically adjust to the new temperature when the time changes. Don’t forget the HVAC maintenance: Proper maintenance of your HVAC system is essential to ensure that it runs efficiently and effectively. Schedule an HVAC maintenance appointment before the time change to ensure that your thermostat and HVAC system function correctly. Tip: Keep in mind that the optimal temperature for your home can vary depending on your preferences and lifestyle. Adjust your thermostat to a temperature that is comfortable for you while taking energy efficiency into account. Benefits of Adjusting Your Thermostat for Time Change Adjusting your thermostat for the time change is more than just a matter of convenience. There are significant benefits to be gained from this simple action. Energy savings: By adjusting your thermostat for the time change, you can save on your energy bills. According to the U.S. Department of Energy, you can save up to 1% on your energy bill for every degree you lower your thermostat in the winter months. In summer, increasing the temperature by a similar amount can yield comparable savings. Environmental impact: reducing energy use through thermostat adjustment also reduces your home’s environmental impact, by decreasing your carbon footprint and contributing to a sustainable future. Comfort: A well-adjusted thermostat can help you maintain a comfortable indoor environment throughout the year. By preparing your thermostat for the time change, you are ensuring that your home remains at a temperature that promotes comfort and productivity. Long-term savings: By reducing your energy usage, you can also extend the life of your HVAC system and other appliances, saving you money on repairs and replacements. Adjusting your thermostat for the time change is a small action with significant benefits. By doing so, you ensure that your home is comfortable, energy-efficient, and contributes to
Read More
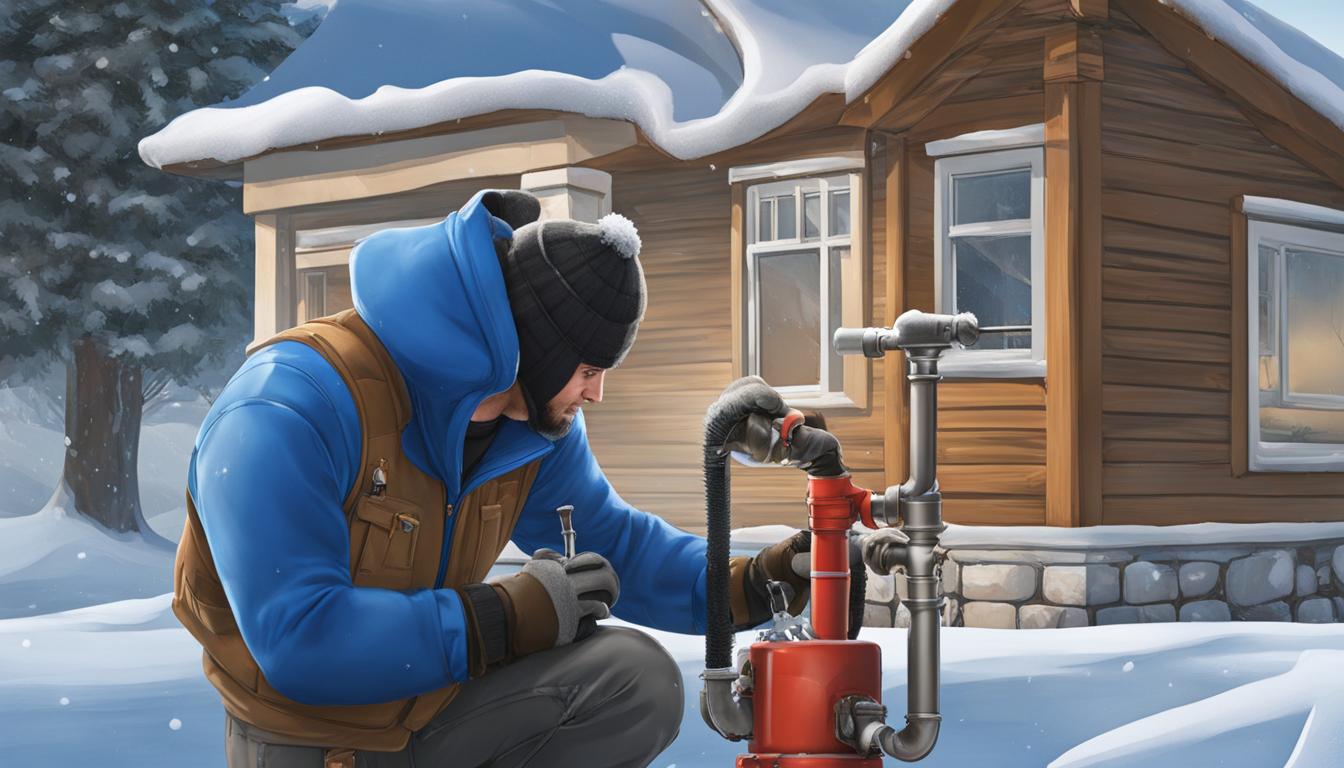
Winter Plumbing Wisdom: How to Safely Drain Pipes Winter can be tough on your plumbing system, and if you’re not careful, it could lead to frozen and damaged pipes. That’s why it’s essential to practice proper winter pipe maintenance, including safe drainage tips, to prevent potential plumbing disasters. In this section, we’ll provide you with essential winter plumbing tips on how to safely drain your pipes. By following these steps and implementing proper pipe protection measures, you can maintain a well-functioning plumbing system throughout the cold season and avoid costly plumbing repairs. Key Takeaways: Proper winter pipe maintenance is crucial for preventing frozen and damaged pipes. Safe drainage tips can help you avoid costly plumbing repairs during the winter season. Regular pipe protection measures can maintain the longevity and efficiency of your plumbing system. Following the steps to safely drain your pipes is an essential part of winter plumbing care. Implementing the advised winter plumbing tips can give you peace of mind and ensure a hassle-free winter season. Understanding the Importance of Draining Pipes in Winter protecting pipes in cold weather: Draining pipes in winter is essential to prevent frozen pipes from causing costly damage. When water freezes in pipes, it expands, potentially causing pipes to burst and resulting in water damage to your home. To prevent this from happening, it is crucial to take the necessary precautions and follow winter plumbing advice, such as draining pipes before the cold weather sets in. By doing so, you can ensure your plumbing system remains protected and functional throughout the winter months. Winter plumbing advice also includes keeping your home warm and ensuring proper insulation of pipes. This can prevent heat loss, reducing the likelihood of frozen pipes. Even in unoccupied areas such as basements, garages, or attics, be sure to leave the heat on to maintain a consistent temperature and minimize freezing risks. Regular winter pipe maintenance is the key to preventing frozen pipes and ensuring a reliable plumbing system. This involves taking the necessary steps to protect pipes in cold weather and taking action immediately if any signs of trouble arise. By understanding the importance of draining pipes in winter, you can keep your plumbing system running smoothly and avoid costly repairs. Winter Plumbing Wisdom: How to Safely Drain Pipes to Drain Your Pipes Follow these easy steps to safely drain your pipes: Turn off the main water valve: Before you begin, turn off the main water valve to avoid any water flow while draining your pipes. This will ensure that no water flows back into the pipes as you work on draining them. Locate the highest faucet: Find the highest faucet in your home, usually on the second floor or in the attic. This is where you will start draining the pipes. Open all faucets: Open all the faucets in your home, both hot and cold to ensure that all the water is drained from the pipes. Drain the water heater: If you have a water heater, turn it off and drain all the water from it. Remove water from toilet tanks: Drain your toilet tanks to avoid any water freezing and potentially damaging the system. Use an air compressor: Use an air compressor to blow air through your water pipes to remove any remaining water. If you don’t have an air compressor, a wet/dry vac also works. Antifreeze: Add antifreeze to all plumbing fixtures and drain traps to prevent freezing during the winter season. Following these steps can help protect your plumbing system from freezing and potential damage. Additionally, implementing proper winter pipe care can help ensure your pipes are properly protected during the colder months. Additional Winter Plumbing Maintenance Tips As temperatures drop and the winter season kicks in, protecting your pipes from freezing should be a top priority. In addition to our safe drainage tips, here are a few extra winter plumbing tips to help you maintain a healthy plumbing system: Keep Your Home Warm: Heat your home to at least 55°F, even when you’re away. This will help prevent pipes from freezing and bursting. Insulate Pipes: Insulate exposed pipes to help protect them from the cold. This will help prevent them from freezing and potentially bursting. Allow Faucet to Drip: When temperatures drop, letting your faucet drip can help prevent your pipes from freezing. Moving water is less likely to freeze. Clean Gutters: Clear your gutters of leaves and debris to prevent water from backing up and freezing in the gutters and downspouts. Incorporating these winter plumbing maintenance tips into your routine will help you keep your pipes in good shape and prevent costly damage to your plumbing system. Don’t forget to practice safe drainage tips and winter pipe maintenance to ensure a worry-free winter season! Conclusion Now that you have learned how to safely drain your pipes during the winter season, you can enjoy a worry-free winter without any plumbing disasters. Remember to regularly practice winter pipe maintenance and take the necessary precautions to protect your plumbing system from freezing damage. By following our winter plumbing tips and implementing the advised safe drainage tips, you can ensure the longevity and efficiency of your pipes. Don’t let the cold weather get the best of your plumbing system. Take charge and protect your home with the knowledge and tools you gathered from this article. We hope that you found this article informative and helpful. With these tips, you can enjoy a warm and comfortable winter season without any plumbing mishaps. Stay safe and take care of your pipes! FAQ Q: Why is it important to drain pipes in winter? A: Draining pipes in winter is crucial for preventing frozen pipes. When water freezes inside the pipes, it expands and can cause them to burst, leading to costly damage and repairs. Q: How do I safely drain my pipes in winter? A: To safely drain your pipes in winter, start by turning off the main water supply. Open all faucets and valves to allow the water
Read More
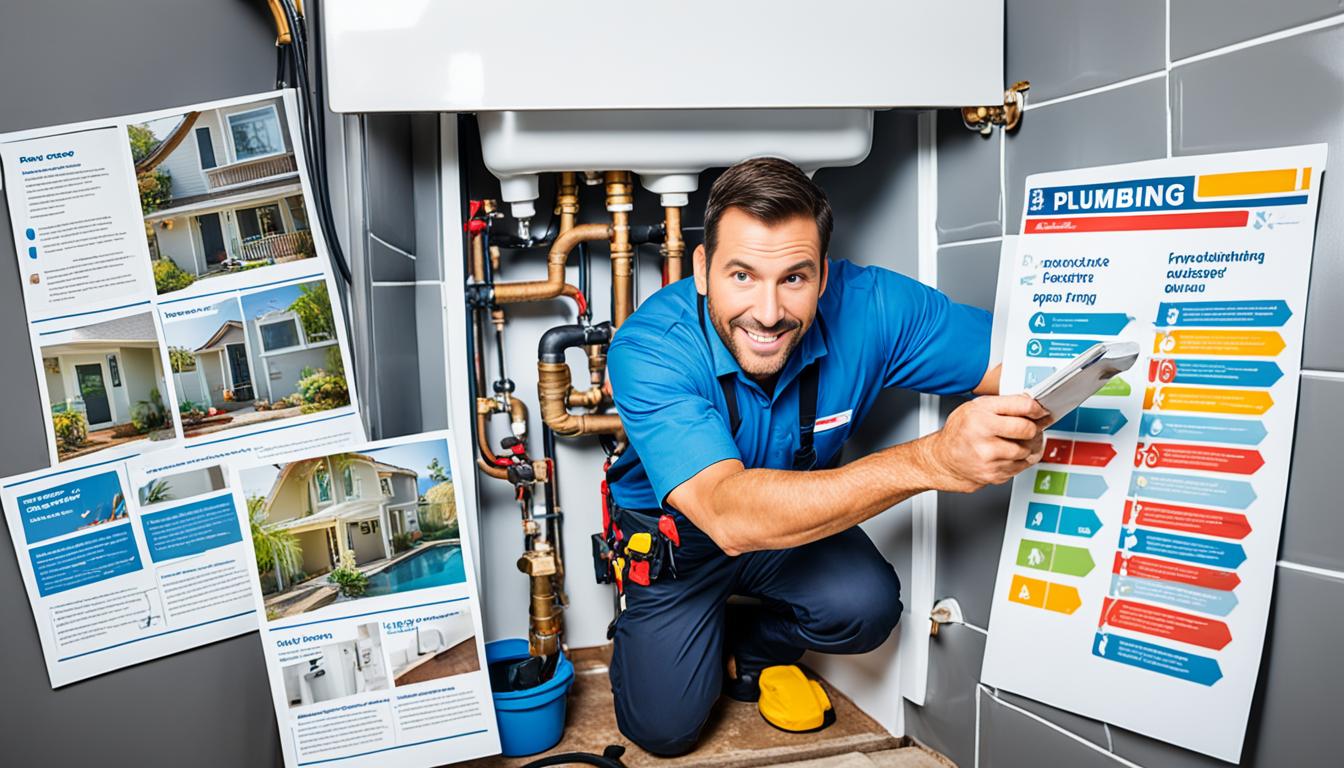
Winter Ready: Essential Steps for Preparing Your Home Heating System Winter is fast approaching, and it’s time to prepare your home heating system for the colder months. Ensuring that your system is in good working condition will keep your home warm and cozy throughout winter and help you avoid any unexpected repairs or breakdowns. In this section, we’ll explore the essential steps you need to take to prepare your home heating system for the winter season. By following these steps, you can ensure your system is running efficiently and enjoy a comfortable winter. Key Takeaways: Regular maintenance is crucial for your home heating system to work efficiently during the winter months. Identifying and sealing any leaks or drafts in your home plays a crucial role in keeping it warm during winter. Installing a programmable thermostat can significantly reduce energy costs and optimize your heating system’s efficiency. Ensuring the safety of your home heating system is crucial, so be sure to check your carbon monoxide detectors and fireplaces. By following these essential steps, you can prepare your home heating system for winter and enjoy a cozy and worry-free season. Why is Home Heating Maintenance Important? When it comes to winter home preparations, ensuring your heating system is in top shape is vital. Regular home heating maintenance is the key to its proper functioning and efficiency. Not only does proper maintenance keep your system running smoothly, but it also extends its lifespan, reducing the need for costly repairs or replacements. Maintenance can be scheduled by a professional or be done through DIY tips for home heating preparations. Regardless of the approach, the benefits of regular maintenance cannot be overstated. Benefits of Home Heating Maintenance Improved efficiency, leading to lower energy bills Save money Reduced likelihood of unexpected heating system breakdowns Peace of mind Enhanced indoor air quality with clean filters and ducts Stay healthy Don’t wait until the cold sets in to schedule heating system preparations. Take steps now to ensure your heating system is ready when you need it most. Winterizing Your Home: Where to Start When the winter season approaches, it’s crucial to protect your home from the cold. Get your home ready for the chilly weather with proper winterization. Starting early with this process can save you a lot of trouble and costs down the road. Here are some essential tasks you should tackle: Service Your Heating System Before the temperature plummets, get your heating system checked by a professional. They can check for any potential problems and recommend needed repairs or replacements. Don’t forget to replace the air filters which can improve airflow and extend the lifespan of your system. Seal Your Home Take some time to go around your home and check for any air leaks. Air leaks can result in higher energy bills, drafts, and cold spots. Use weather-stripping or caulking to seal gaps around doors, windows, and vents. Proper insulation can also help your home retain more warmth. Prepare Your Plumbing Protect your pipes from freezing by insulating them properly. If you have an outdoor faucet, consider switching it out for a frost-proof model. Don’t forget to disconnect garden hoses and drain outdoor pipes before the first frost hits. Check Your Roof An impaired roof can cause major damage, especially during the winter. Inspect your roof, and make sure there are no leaks, broken shingles, or other damage. Clean out the gutters, leaving no debris, and preventing buildup and potential damage. Winterizing your home can take time and effort, but it’s worth it when the temperature drops. Start with these tasks to ensure a warm and cozy winter season with minimal hitches. Checking Your Heating System: Professional Inspection and DIY Tips Regular inspection and maintenance of your heating system are vital to keep it running efficiently throughout the winter. By taking care of your heating system, you can save money on energy bills and avoid costly breakdowns. It’s best to have your heating system inspected by a professional HVAC technician at least once a year. They can identify any issues and make necessary repairs to keep your system in good shape. If it’s been a while since your last inspection, schedule one now to ensure you’re ready for the winter season. DIY Tips for Home Heating Maintenance Professional Inspection Replace your air filter regularly to improve airflow and reduce wear on your system. A technician will check for leaks and ensure your system is working safely and efficiently. Dust and clean components such as the blower, fan, and vents to improve heating efficiency. They will clean and lubricate parts to prevent wear and tear. Check your thermostat to ensure its accuracy and replace the batteries once a year. Inspect the heat exchanger for cracks that could lead to carbon monoxide leaks. By following these simple DIY tips, you can maintain your heating system and improve its efficiency: Clear away any debris around your outdoor unit to ensure proper airflow. Ensure that vents and registers are unobstructed. Seal air leaks around doors and windows to prevent drafts. Keep your heating system area clean and free of clutter. Regular maintenance and inspection of your heating system will help you stay warm during the winter months. Don’t neglect this essential home heating maintenance task; make a plan for both professional inspections and DIY maintenance tips now to prevent heating issues when the weather gets colder. Seal the Leaks: Ensuring Proper Insulation Proper insulation is important not only for preventing heat loss but also for reducing your utility bills, making it a crucial aspect of winterizing your home. In this section, we will guide you through the process of identifying and sealing any leaks or drafts in your home. Start by checking the areas of your home where air can escape, such as windows, doors, and vents. A simple way to detect leaks is to run your hand around the edges of windows and doors to feel for any cool air drafts. Another way is to use
Read More